Reglazing your tub is a great way to give your tub a new look without having to undergo the process of replacing your tub completely. It can be done as a DIY project, or you can rely on a hired professional to do the job for you. If you’re wondering how to reglaze your tub and how much you can expect to pay, we have the answer for you.
Here are the basic steps to reglazing your tub:
- Inspect and prepare your bathroom
- Deep clean your tub
- Apply Filler
- Apply Epoxy
- Apply the glaze
- Clean up and finishing touches
The average cost to reglaze a tub is between $300 and $600, but it can be as low as $50 if you are doing it yourself and only paying for materials. It can be much greater than $600 if you pay a professional to do it for you, as labor alone can cost between $200 and $500.
We will go over each of these steps to better understand how to complete this project on your own.
The Process
Step 1: Inspecting and Preparing Your Bathroom
Check for Needed Repairs
Before you begin the reglazing process, give your bathroom a quick inspection. Make sure all of your plumbing and water lines are working properly. Make any repairs before reglazing the tub. Otherwise, you may find yourself needing repairs that will damage your newly finished bathtub.
Ideal Temperature and Environment
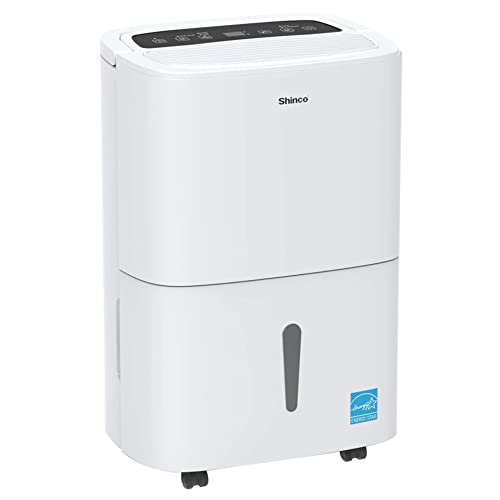
Spend some time getting to know the average temperature and humidity of your bathroom. Excess moisture will cause problems with your coating, so you want to complete your project when your bathroom is at the ideal temperature with low humidity. You can put a dehumidifier in your bathroom to reduce the humidity if your bathroom always tends to be humid.
Click here to see this dehumidifier on Amazon.
Prepare the Tub
Remove all caulking that seals your tub to the wall and all grout between any tiles immediately touching your tub. Replacing the caulking and grout will be the final part of the reglazing process.
Prepare the Bathroom
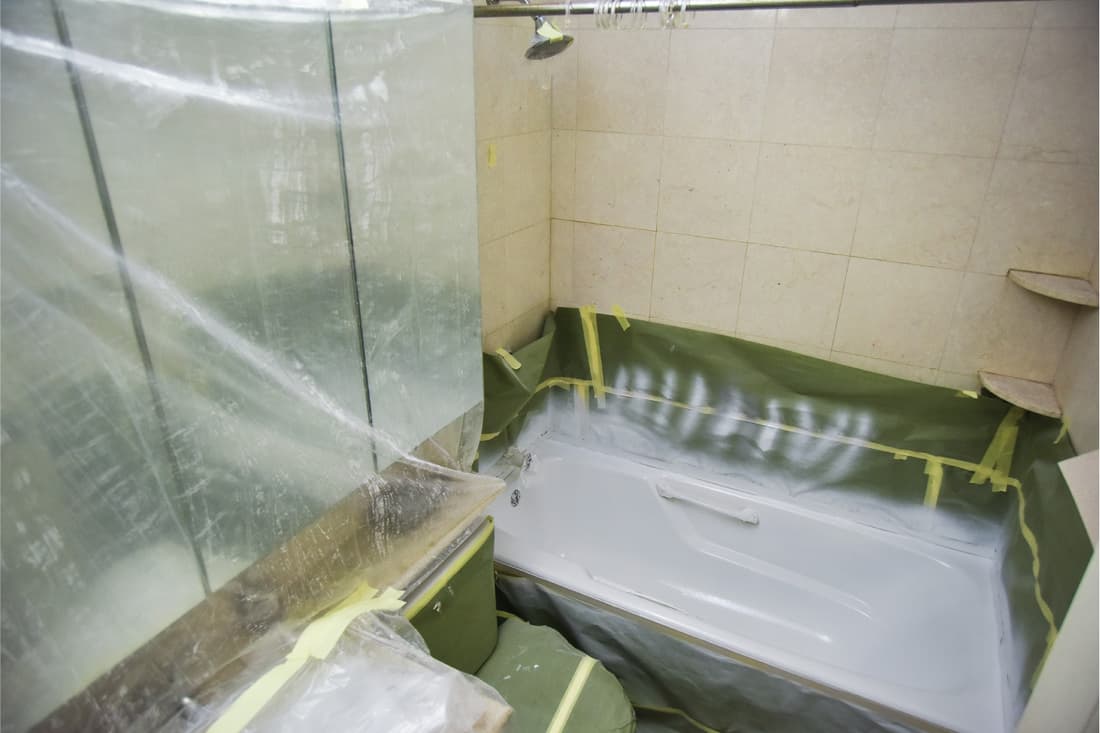
Cover everything in the bathroom to keep it safe from getting ruined. Since reglazing is typically a spray process, you want to protect your bathroom from getting damaged by the tub coating.
Step 2: Deep Cleaning Your Bathtub
Use industrial strength bathtub cleanser and sandpaper to scrub any paint, calcium deposits, or stuck-on debris off your bathtub. Pay extra close attention to the drain and hardware to ensure nothing is stuck in the cracks. When you’ve finished cleaning the tub, make sure to dry it really well. There should be no residual moisture. If needed, you can use a shop vacuum to make sure all of the water is out of the tub.
Click here to see this cleanser on Amazon.
Step 3: Applying Body Filler
Apply a surface filler to even out the surface of your tub and repair all of the small surface damages. After applying the filler, you will want to sand the surface to a smooth finish before the filler dries.
Click here to see this filler option on Amazon.
Step 4: Applying the Epoxy
The next step is applying an epoxy primer to your bathtub. This step seals your tub’s surface and primes your tub so that the coating will adhere properly.
Click here to see this primer on Amazon.
Step 4: Applying the Glaze
The final step is applying the glaze. Glaze can come in a spray or brush-on application, and you can choose the color that best matches the color you want your tub to be. When choosing your product, pay close attention to the manufacturer’s directions. They will tell you how to apply the glaze and what surfaces the product can be used on. After applying the glaze, let it dry for 24 hours before using the tub or repairing the caulking and grout.
You can check out Amazon for kits that have everything you need for the glazing process.
Step 5: Cleaning up and Final Touches
The last step you have to complete is cleaning up the bathroom and setting it up for continued use. This will include removing all tape, sheeting, and other materials that you used to protect the other components of your bathroom. This will also include adding caulking and grout to the areas you needed to remove before beginning the process. Be sure to follow manufacturer instructions on the grout and caulking to ensure that you don’t use your tub too early after applying them. Whether you’ve opted to replace your hardware or keep the original hardware, you can install it after your tub is dry.
How Long Does Reglazing Last On a Tub?
On average, reglazing lasts between 10 and 15 years. How well you take care of your tub, such as cleaning and making sure you use non-abrasive cleaners, will make the difference between not lasting even 10 years and last well into 15 years.
Does Reglazing a Tub Change the Color?
You can use the reglazing process to change your tub’s color if you are looking for a change in style. However, you can keep the tub’s original color, if you prefer, by using products that match your tub’s current shade. Retailers that specialize in bathroom renovation, and some general-purpose home renovation retailers, can help you find what you need to give your tub a new look or match your existing color.
For DIY Tub Reglazing, What Can Go Wrong?

There are multiple ways for your project to go wrong if you choose to reglaze your tub as a DIY project. Luckily, there are ways to fix nearly all of the problems you might run into.
Improper Coating
A common issue is either using too much coating or not using enough. Each of these comes with its own consequences. Not using enough coating can cause your finish to be brittle, while using too much can result in a much longer dry time and an uneven surface. The best way to avoid this is to consult the instructions that come with your finishing agent and follow the manufacturer’s specifications.
Surface Moisture
One major issue that you cannot control is surface moisture. This does not mean forgetting to dry your tub completely before beginning your project. Instead, this moisture is almost unnoticeable to the naked eye and occurs when the room you are working in is too humid. When this occurs, the coating will not adhere to your tub properly. To avoid this, you want to be sure that your bathroom is at an ideal temperature, higher than the dew point, and with low humidity, before beginning your project.
Is Reglazing a Tub Worth It?
The condition of your tub will help you determine if you should reglaze your tub or replace it completely. Reglazing is a good option if your tub is in otherwise good condition and just has some cosmetic imperfections. If your tub has more serious issues that affect functioning, it is preferable to replace the tub.
Can You Reglaze a Tub More Than Once?
You can reglaze your tub more than once. However, more preparation will be needed. The coating used to reglaze a tub doesn’t adhere as well to the existing coating, so you will have to take care to thoroughly remove the old coating before applying the new coating.
Alternatives to Reglazing a Tub
Reglazing is a great way to give your tub a refresh. However, there are alternatives that you can also consider if reglazing isn’t the right option for you.
Bathtub Liner
Bathtub liners can give your bathtub a new look without chemical processes and lengthy procedures. Essentially, a mold of your bathtub is made and can be slipped over your existing tub. If you choose this option, your tub will be measured by a professional and made by a company specializing in bathtub liners. The professional will then return to your home with the liner, clean your existing tub, remove the hardware, and then fit your new liner over your tub and seal it into place before installing new hardware.
The liner needs to be custom made and shipped, which can take several weeks. However, the installation can usually be completed in one day, and the owner can use the tub the same day it is installed. The average total cost for a bathtub liner is between $1,500 and $2,500, including the liner and the installation.
Re-Casting
Re-casting is very similar to re-glazing in that it gives your bathtub a new finish. The tub’s finish will be removed in both applications, and a new finish will be applied. However, reglazing typically uses a spray finish, while re-casting uses a thicker, poured finish. The reglazing process is done in multiple steps, while re-casting is just one step.
Re-casting is similar in cost to re-glazing in that it is the same project done in two different ways. While you may save money on labor by re-casting rather than re-glazing, you will pay more for the material used for re-casting than for the material used in reglazing. Tub refinishing costs between 200 and 900 dollars.
Bathtub Replacement
The last and most expensive alternative to reglazing is replacing the bathtub. This option requires the original tub to be removed and another installed in its place and may be the only option if your tub has severe issues or is in disrepair. If you are attempting this project yourself, you will have to be knowledgeable of the process and any regulations your area has for disposal of your old tub. The cost of this option varies widely because of the many bathtub options available and differences in labor costs. However, an average range is 1,200 to 6,000 dollars.
Summary
Whether you choose to do this project on your own or hire a professional, reglazing your tub will help you achieve a fresh new look at a much lower cost than replacing your tub. Be sure to professionals before starting your project if there are any aspects you don’t understand or questions you have. Taking the time to properly research and complete the reglazing process will reward you with a beautiful tub for many years to come.


