HOMEGROWN VEGGIES FOR DAYS!
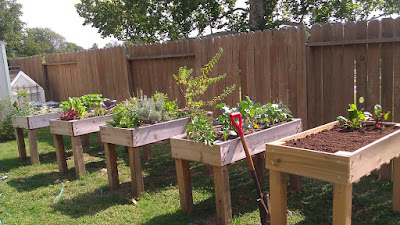

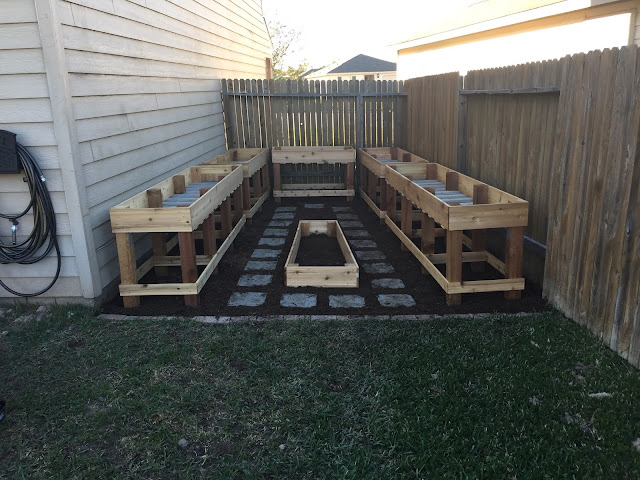
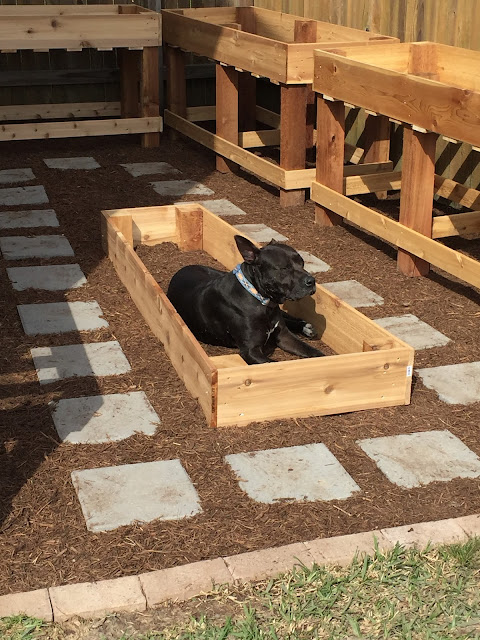
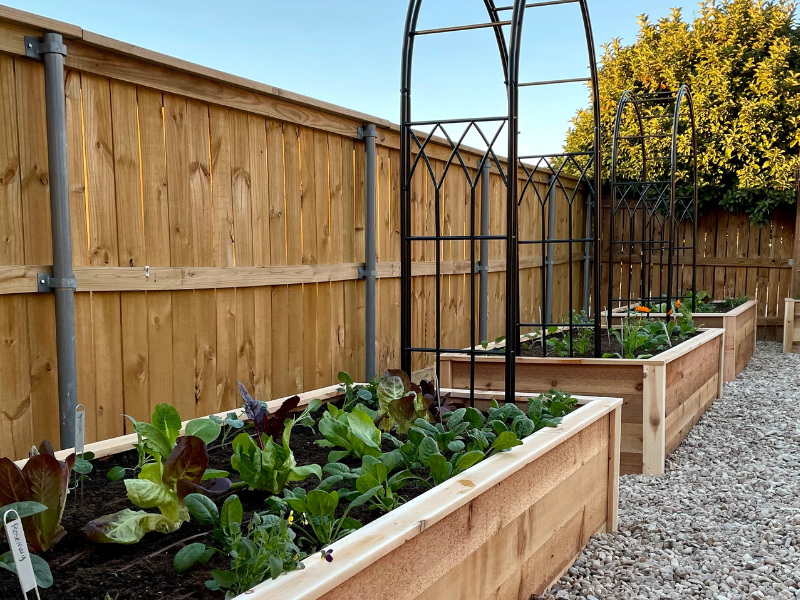
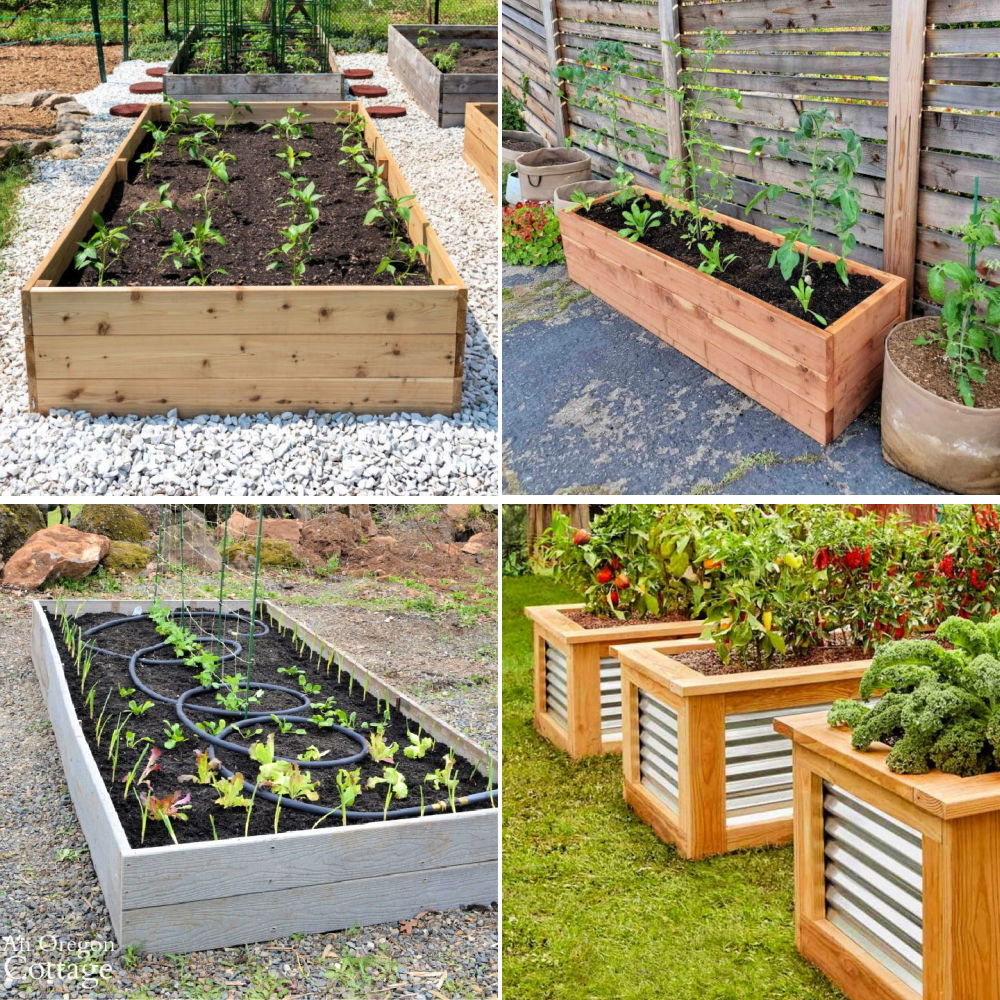
If you’ve ever dreamed of having a thriving vegetable garden right in your backyard, constructing your own raised garden beds is a fantastic way to get started. Not only do these beds provide excellent drainage and soil quality, but they also make planting, maintaining, and harvesting much more manageable. In this guide, we’ll walk you through the essential materials and steps needed to create your own raised garden beds, ensuring you can enjoy homegrown vegetables for seasons to come.
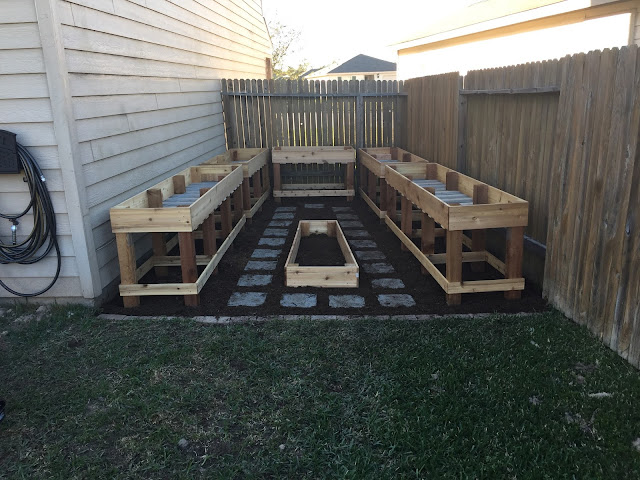
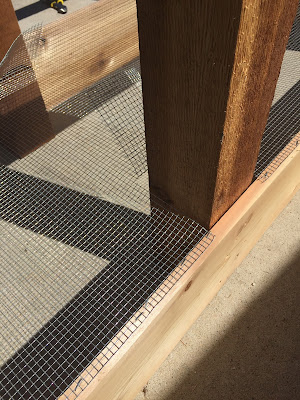
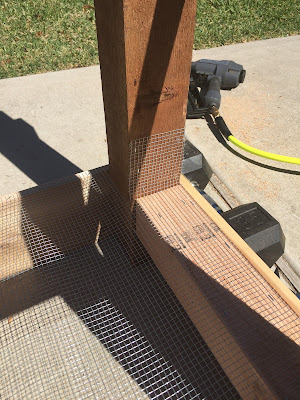
To begin your gardening project, you’ll need a few crucial materials. One primary component is Garden Zone Hardware Cloth, which comes in a 24-inch wide by 50-foot long roll with 1/4-inch square holes. This fabric will serve as a protective barrier to keep pests away from your plants while allowing water and nutrients to reach the soil. Additionally, you’ll need 2 1/2-inch ring shank pneumatic framing nails or deck screws to assemble the bed’s frame securely.
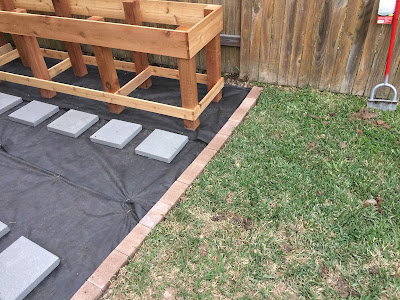
Next, consider using Sta-Green Premium Landscape Fabric. This fabric will help suppress weeds while still allowing water to penetrate, ensuring that your plants get the moisture they need without competing with unwanted plants. To secure this fabric in place, you will also require 9/16-inch heavy-duty staples and a heavy-duty staple gun, along with some heavy-duty scissors to cut the hardware cloth to size.
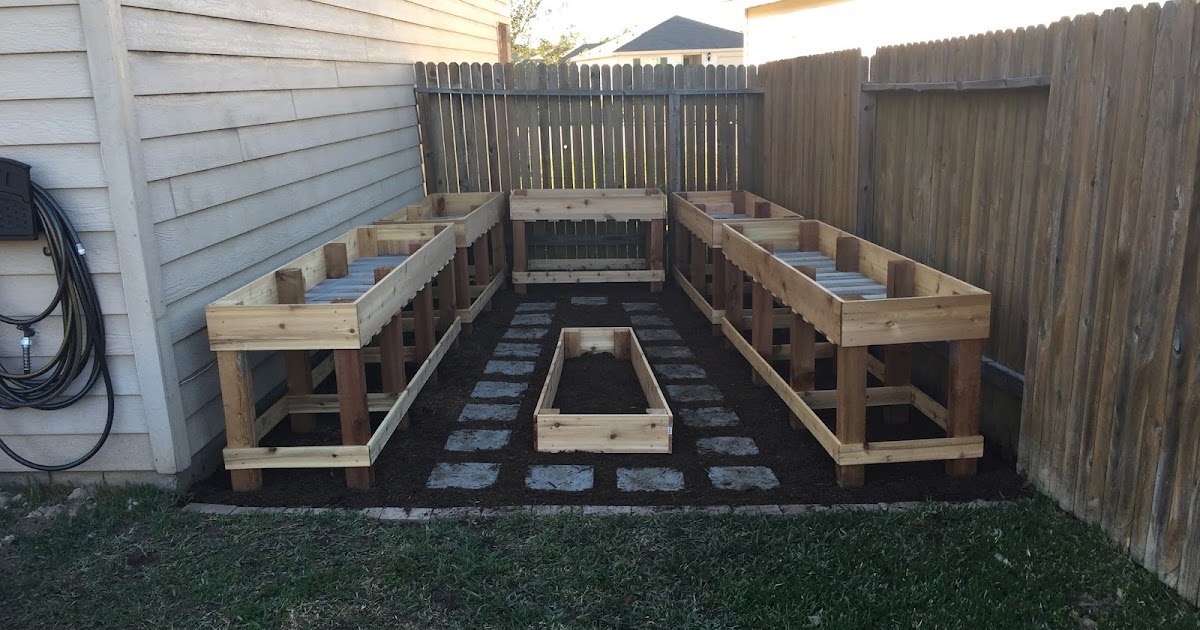
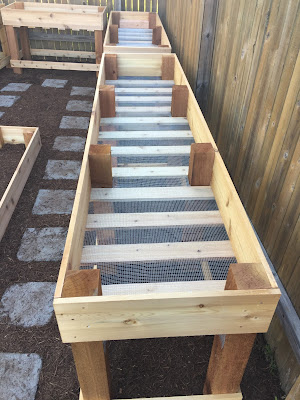
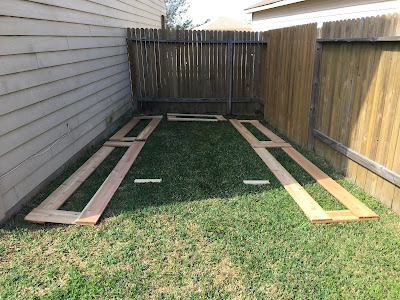
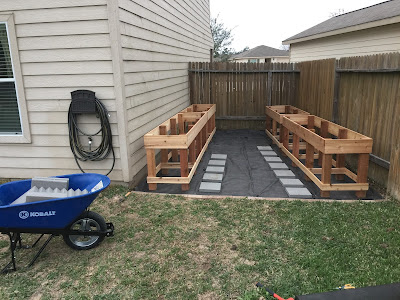
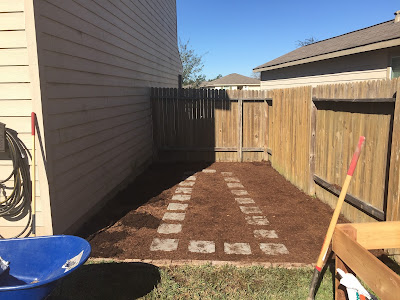
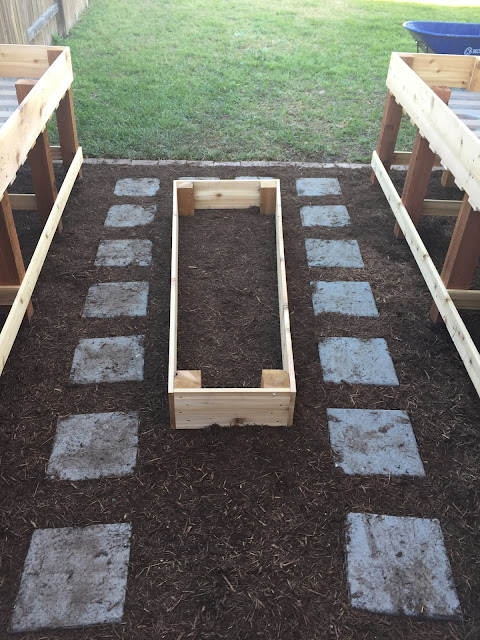
For the base of your raised garden bed, you will need patio stones or brick pavers. A total of 21 pieces of 12×12 grey patio stones will create a solid foundation. Alternatively, you can choose 17 brown brick pavers, which provide a rustic look while also being functional.
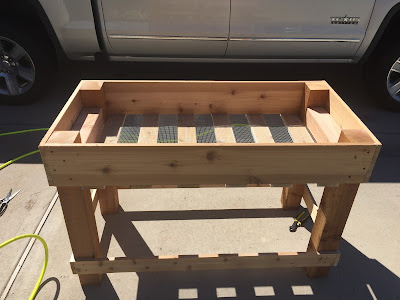
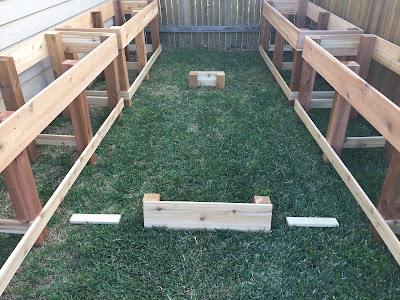
As you begin to plan the dimensions of your raised garden bed, consider how much space you will require. For a middle bed, a structure with 4 pieces at 7 3/4 inches will work well, while for larger beds, you might want to opt for a variation of 2 pieces at 60 inches, 1 piece at 10 inches, and 1 piece at 20 inches. Having a clear plan for your bed dimensions will set you up for success in your gardening journey.
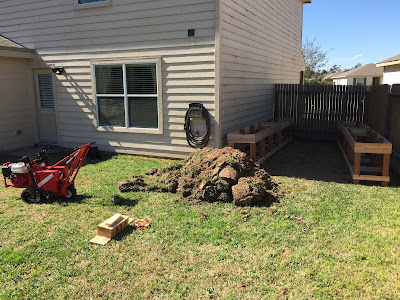
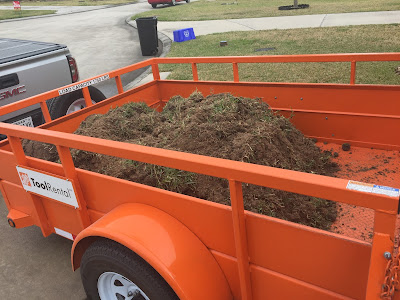
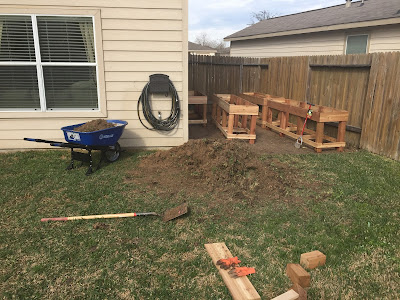
Once you have all your materials gathered, the next step is to prepare your garden space. Choose a sunny location in your yard that receives at least six hours of sunlight daily. Clear away any grass, weeds, or debris to create a clean workspace. It’s also a great time to test your soil to ensure it has the right pH and nutrient levels for the vegetables you plan to grow.
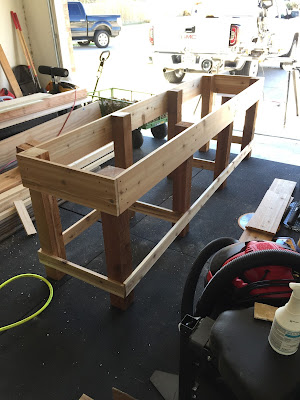
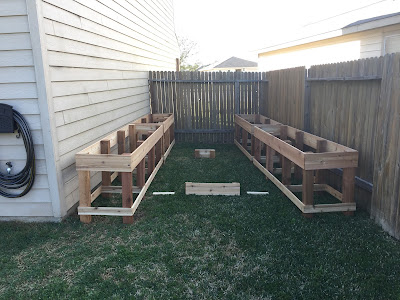
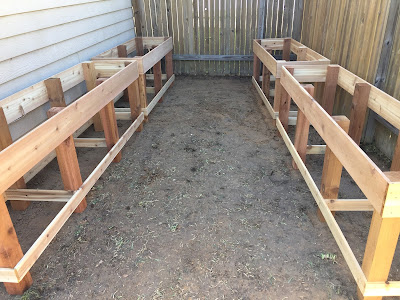
With your location set, start assembling your raised bed frame using your chosen wood or materials. Secure the corners with framing nails or deck screws, ensuring the structure is sturdy and level. Once the frame is built, place it in the designated area and fill it with high-quality soil, mixing in compost or organic matter to enrich the soil further.
As you begin planting, think about the types of vegetables you wish to grow. Some popular choices for beginners include tomatoes, lettuce, peppers, and carrots. Consider companion planting, which involves placing certain plants together that can benefit each other, optimizing your garden’s yield. Water your plants regularly, especially during dry spells, and be on the lookout for pests or diseases.
With patience and care, your raised garden beds will flourish throughout the growing season. Soon, you’ll be able to harvest fresh vegetables right from your backyard, enjoying the fruits of your labor. Not only will you have access to delicious produce, but you’ll also take pride in knowing you built your garden beds from scratch, making this a truly rewarding DIY project.