A cracked tile on a bathroom floor or wall can be a real bummer. It was perfect yesterday, so why is it broken today? If you didn’t drop anything on it to cause the crack, then what could have caused it? And how can you fix it? We’ve researched this matter thoroughly to get you the very best answer!
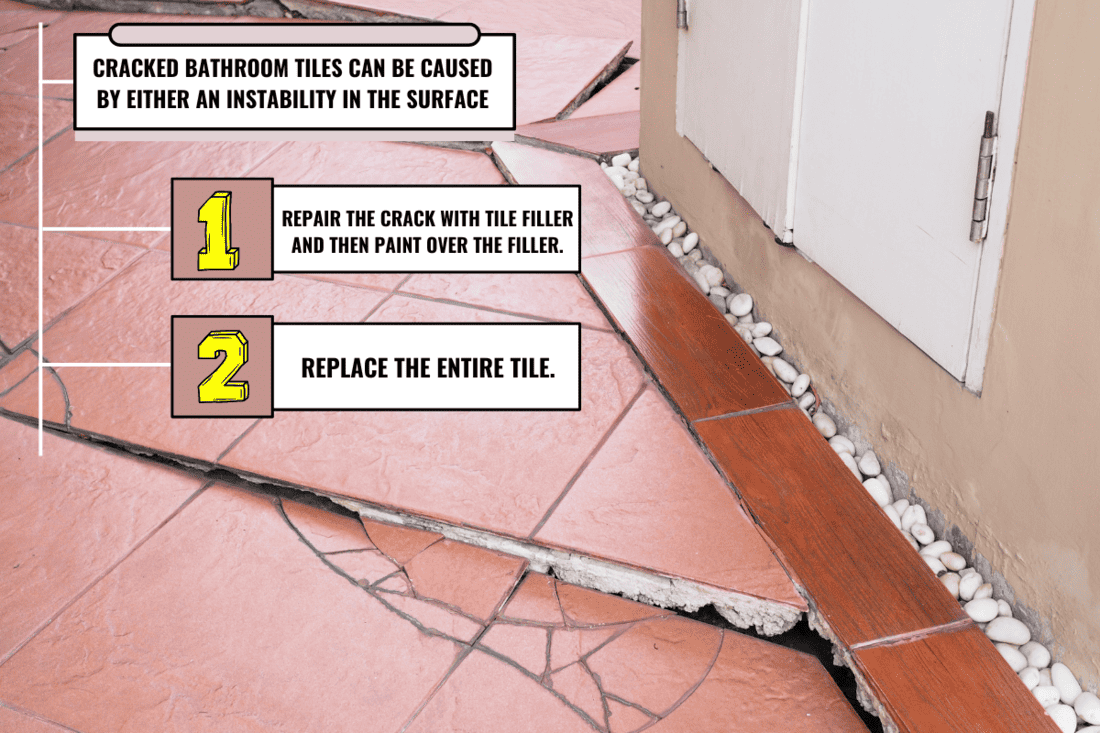
Cracked bathroom tiles can be caused by either an instability in the surface under the tile or, in rare cases, the low quality of the tile itself.
To fix the crack, you have a couple of options.
- You can repair the crack with tile filler and then paint over the filler with a color that matches the rest of the tile.
- You can replace the entire tile.
Keep reading to learn more about what causes cracks in bathroom tile as well as how to fix it!
Why Do Floor Tiles Crack?
A big reason, arguably the most significant reason, floor tiles crack is because of the surface underneath it not being stable enough. Different subfloors can contract, expand, or flex depending on the material they’re made from. You can also see cracks develop if the tile you purchased or had laid was of poor quality. If you bought it from a reputable dealer, though, it’s likely what’s under the tile that’s the problem.
We sometimes add affiliate links and content that was curated and created by our team with the help of advanced ai tools to help showcase the best design styles.
Large Spaces Between Floor Joists
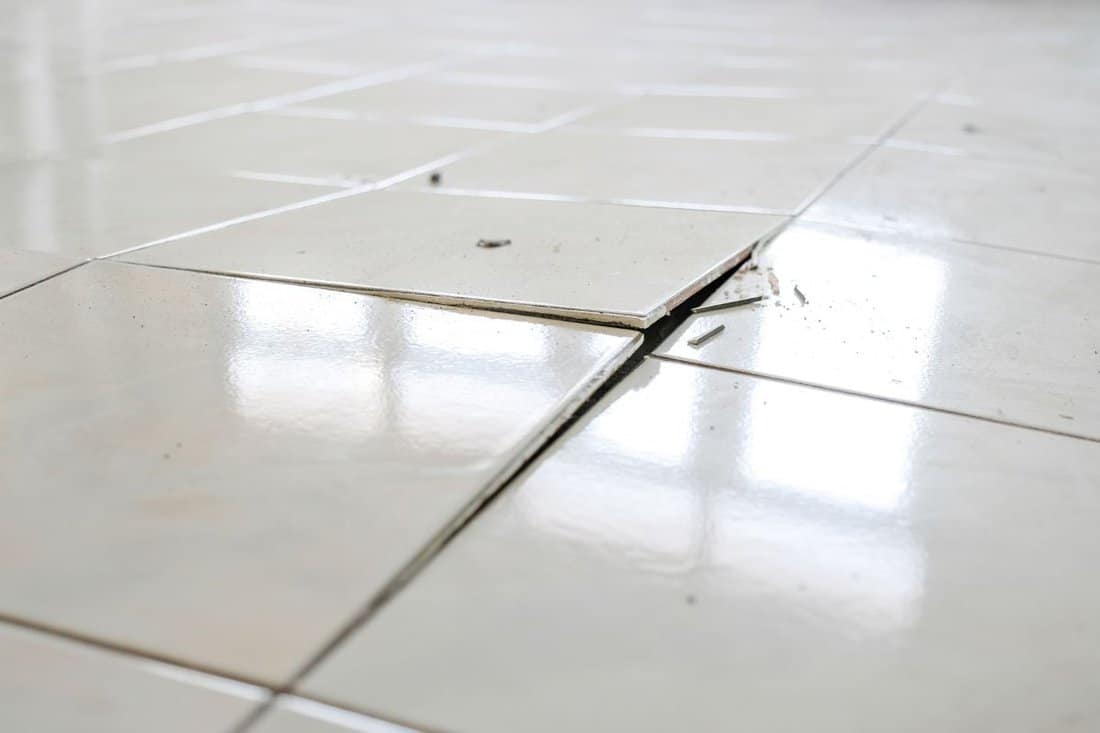
Joists are large beams under your subfloor that holds up everything above it. When your joists are spaced too far apart, it leaves room for the plywood to flex. A flexing surface under a rock-solid surface creates a gap. When the pressure hits on top of that gap? Crack! There goes your tile.
Cracked Concrete
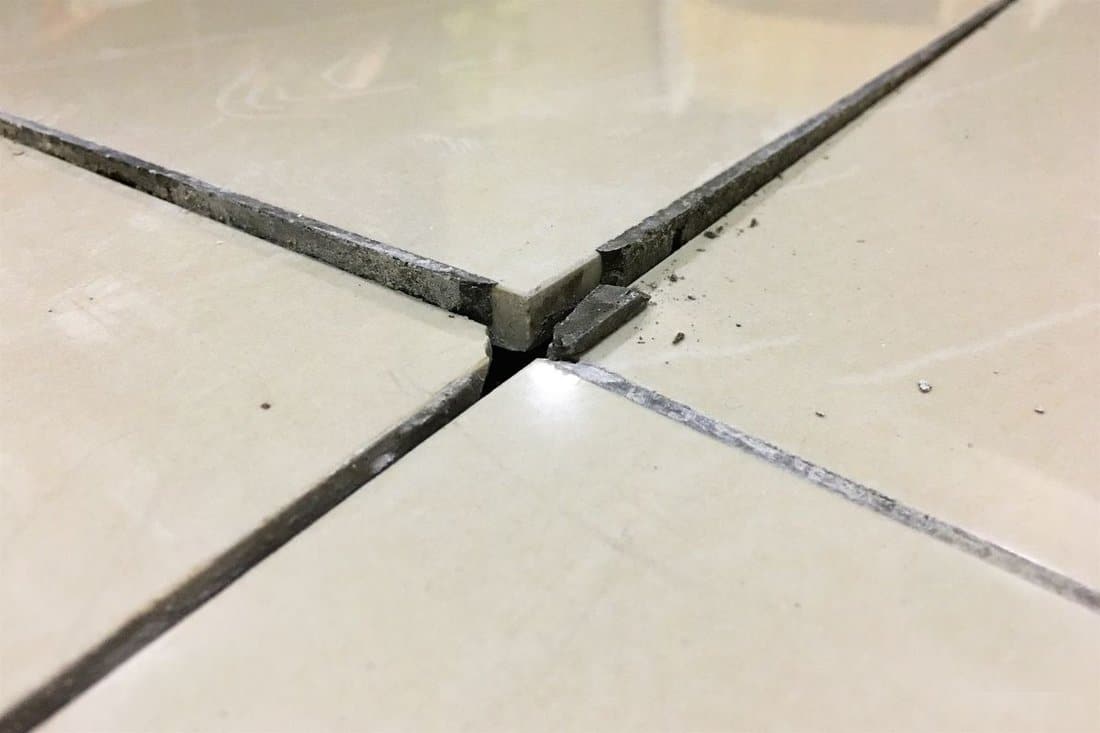
If you have concrete under your tile and you notice a long crack that runs through several pieces, chances are it’s because there’s a crack underneath. The concrete shifts when it cracks, and the adhesive used to lay the tile demands the tile moves with it. The tile responds by cracking along with the concrete.
Concrete Didn’t Cure Long Enough
When you lay concrete, it’s a good idea to leave it for a good while and let it cure, or harden. And when we say a good while, we mean a month or so. Otherwise, the water in the concrete will evaporate, causing the concrete to shrink. If the tile has been laid on top of concrete that’s shrinking, you’ll start seeing a lot of cracks as they try to keep up.
How Do You Repair Hair Line Cracks In Tile?
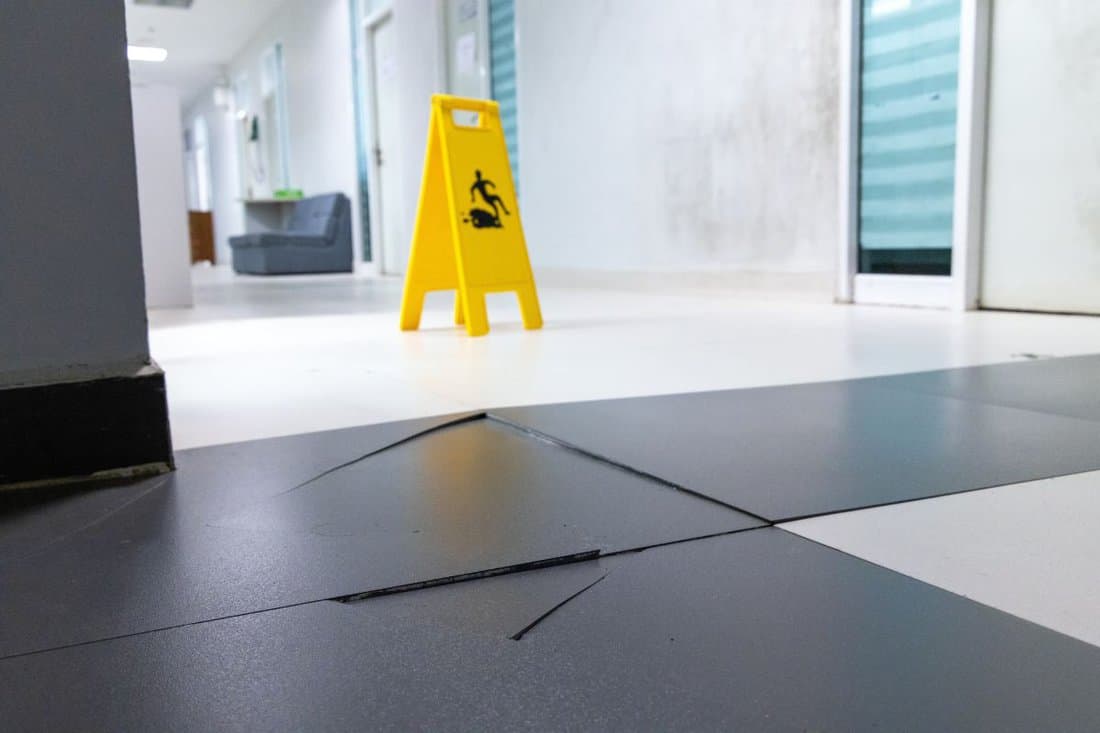
If you have a tiny hairline crack in your tile, then you’re in luck. These are relatively simple to fix. All you need is some tile filler and a bit of paint.
- First, clean the tile. You don’t want to apply the filler only to find it’s gunked up from dust and dirt that were on the floor. A clean towel and some soapy water are good enough. Then you want to rinse the tile, so the soap doesn’t mix with the filler and dry it off with another towel. Inside, the crack is going to hold a bit of water, though. Either give it a few hours to dry on its own or grab your hairdryer to get it set in 15-20 minutes.
- For your next step, you want to mix up your paint. You can buy kits like the one below that has charts for color matching and directions to help you create just the right tone for your tile.
- A kit will come with a small amount of putty for you to mix with your paint. Mix it until the color is well blended, then apply it to your tile either with an included spatula or one of your own. Scrape off the excess, then allow the putty to dry according to the directions.
- Once your filler putty is dry, around 2-3 hours, use a damp, clean cloth to clean off the excess putty surrounding the crack. Allow the filler to dry before covering it with a sealant completely.
- After you’ve completed the above steps, wait for around 48 hours to allow the filler to cure before you allow heavy foot traffic on it.
Click here to find this tile repair kit on Amazon.
How Do You Fix Larger Cracks In Bathroom Tiles?
If you have a large crack or many little cracks in one tile, your best bet is to replace the entire tile or tiles. Here are a few simple steps to help you get this job done quickly and easily.
- First, the broken tile has to come up. The best way we’ve seen to do this is to take a rag and place it over the tile. Next, you’ll need a hammer to shatter the tile with. The rag over the tile will keep tiny shards from flying up at you, but it’s best to wear some safety goggles while doing this.
Click here to find these safety goggles on Amazon.
- Next, you’ll want to get all the tile pieces picked up. A small chisel works wonders for this. You’re also going to need to get rid of the old adhesive. A putty knife will make that job go much smoother.
Click here to find this chisel on Amazon.
Click here to find this putty knife on Amazon.
- Finally, take your replacement tile piece and spread adhesive on its back with a notched trowel. Gently place the tile in the empty spot, then allow it to dry. You’ll want to check the recommendations for your particular adhesive to find out how long it needs. Once it is dry, fill in around the new tile with fresh grout. Allow the grout to dry then wipe down the new tile and grout with a damp cloth to tidy up.
Click here to find tile adhesive on Amazon.
Click here to find this notched tile trowel on Amazon.
Click here to find tile grout on Amazon.
Do Large Tiles Crack Easier?
In a word, no, they don’t. Large tiles are susceptible to weakness in the surface beneath them, just like smaller tiles, but they aren’t any more or less likely to break just because of their size. Poor quality is another factor that can make for tiles that crack easily, but again, it’s not for their size that they break.
How Do You Stop Tiles From Cracking?
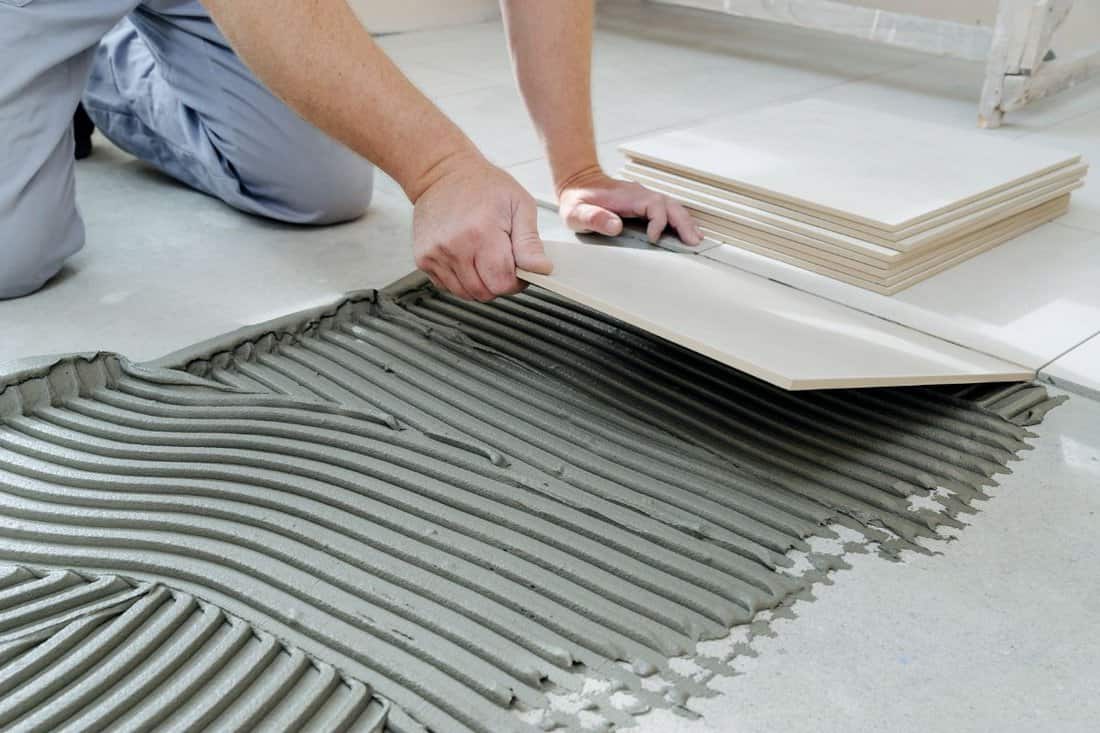
The best way to prevent cracking tiles is to ensure that your surface underneath them is sturdy and flat.
- If your floor joists are too far apart, your subfloor will bend and flex as you walk across it. An excellent way to avoid this bending, causing cracks, is to place blocking between the joists. This is done by measuring the space between each joist and cutting a block of wood to fit between them at regular intervals. This creates a firmer base for your tile to sit on. For more information on how to block floor joists, check out this post from eHow.
- Another good way to prevent issues with subflooring is to make it thicker. Thicker subfloors won’t bend and flex as easily as a thinner subfloor would, which puts less pressure on your tiles. You’ll take up the weak subfloor (which gives you a chance to check out your joists, too) and re-lay thicker plywood.
- For a final method to avoiding cracks, you’ll want to look at anti-fracture membranes. These are rolls of material that allow the subfloor to shift under tile without the tile itself bending and cracking as a result. Think of them as shock absorbers for your floor. You can use this method with both wooden subfloors and concrete. Gate Home Guides has a good instruction post on how to install tile when using these.
Keeping Everything In One Piece
Having a good foundation is essential for just about everything in our lives. Even your bathroom tile needs a stable place to rest to prevent cracking. Small hairline cracks are simple fixes, and even larger cracks are reasonably easy to repair. Repeated cracks in the same location are indicators you have a deeper problem. Follow the tips in this post, and you’ll have a beautiful, worry-free floor that will last a lifetime.


