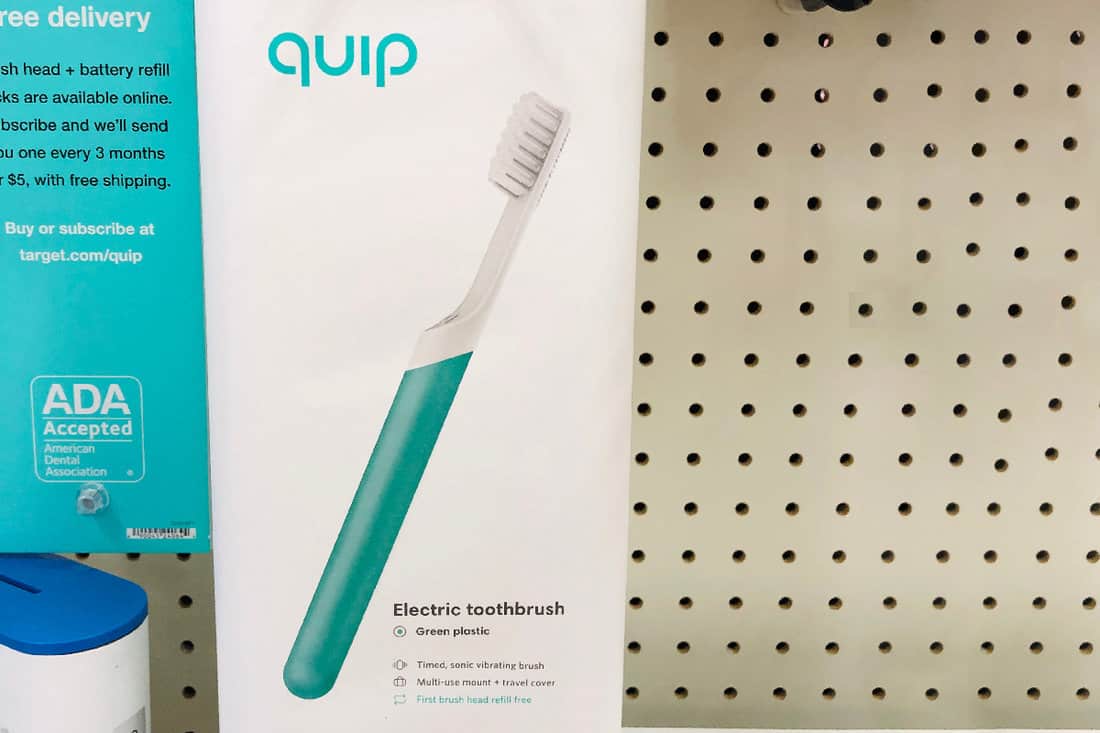
If you need a reliable electric toothbrush, Quip’s got you covered! Everything from their presentation to their performance is relatively impressive. However, sometimes manufacturer instructions aren’t too clear. What if you need help replacing the battery, head, and floss? If that’s your issue, we’ve done the research to simplify the process!
Quip’s way of replacing parts all starts at the toothbrush head. If you need to replace the head, place your thumb on the two dots behind the toothbrush. Then, hold the bottom portion of the toothbrush with your other hand, and push the toothbrush away from you. From here, you have access to the other parts.
Of course, it’s hard to follow instructions without an example; no one wants to break their toothbrush accidentally. For this reason, we’ll go over each step in detail. This way, you’ll have no doubts as you follow along. For more information, keep reading.
Replacing Quip’s Electric Toothbrush Components
Quip offers an electric toothbrush with an elegant design. On the surface, it might look like the toothbrush has no components. It’s like any other toothbrush—but prettier.

However, that’s not the case. There’s a battery and a brush head that you can replace. To replace any of their parts, you must know how to remove the brush head.
Removing the brush head is simple, but their design doesn’t make it obvious. In any case, let’s start with removing the brush head.
Replacing The Brush Head
We can start the process by looking at the backside of the toothbrush. At this point, we will see a tongue scraper and two dots below it. Those two dots are our first hint to how to open it.
With one hand, grip the toothbrush head and position your thumb on the two dots. Use the other hand to hold the bottom portion; on this hand’s thumb, place it next to the other thumb on the two dots.
Now—this might sound outlandish—pretend you’re snapping a pencil away from you. It sounds absurd, but that’s how Quip intended to unlock the brush head on the handle.

It uses a snapping mechanism. In any case, be careful when doing this. You don’t need to use too much force; the toothbrush should snap open with ease.
Take your new brush head and slide it into place. You should hear a clicking sound as you push the new brush head onto the handle.
Replacing The Battery
Replacing the battery will follow the same steps as removing the brush head. So, snap the head off, and we’ll pick up from there.
Once the brush head is out of the way, there’s another part you’ll need to remove. It’s the motor assembly; this one removes easily. Grab the two small handles on the sides and pull up.
It might look like the motor assembly houses the battery, but it doesn’t. The battery sits deep inside the handle. So, tap the brush handle on your palm lightly, and the battery should slide out.
Inserting The New Battery

Before you place the new battery in, it’s essential to think about how to position it. If you didn’t notice how the old one came out, you might be inserting the new battery in the wrong orientation.
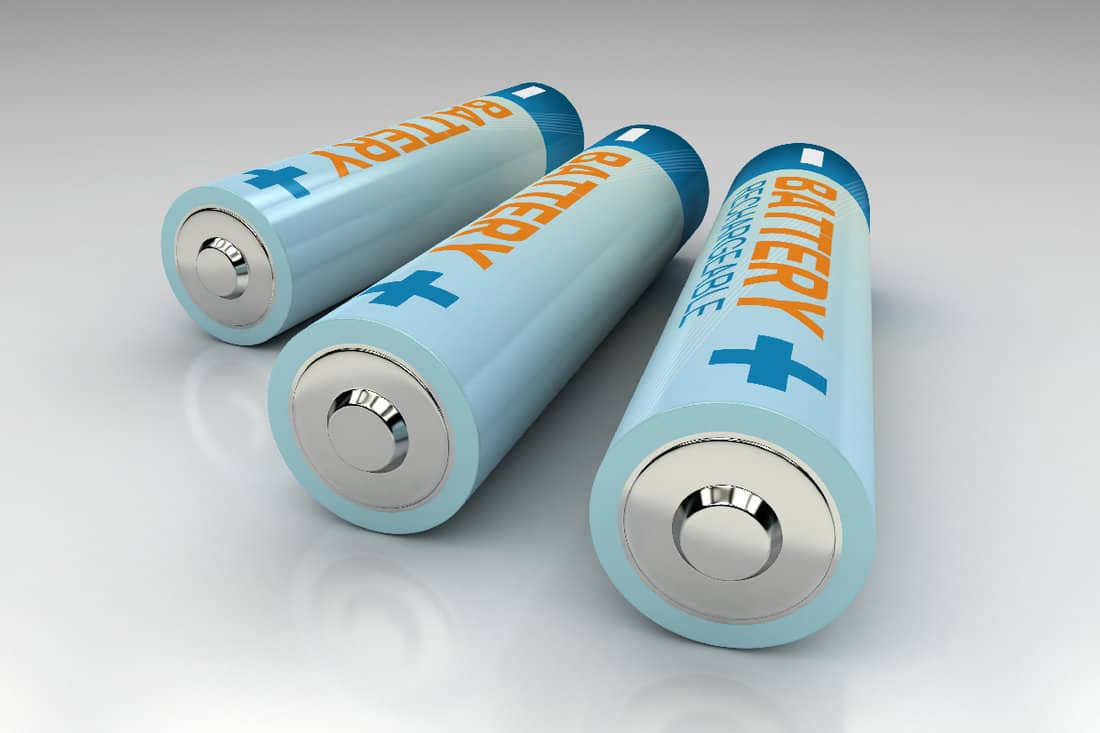
Batteries have positive and negative sides. The nub usually indicates the positive side, while a flat surface represents the negative.
The nub—positive side—should face you as it goes in. Once the battery is inside, take the motor assembly and slide it back in.
The handles on the motor assembly will line up with the grooves on the brush handle. So, don’t worry about placing it incorrectly.
Finally, slide the brush head into place. Once you hear the snap, the job is over. If you need a visual demonstration, here’s a YouTube video to help:
What Happens If The Battery Is Stuck?
In some cases, people may find that the battery is stuck inside the brush handle. No matter how much you shake it, it won’t come out. There are two reasons why this could happen.
First, think about the battery you placed inside. Was it a AAA battery or a AA? If it was the latter, you used the incorrect battery.
Quip uses regular AAA batteries to power their electric toothbrushes. So, you might be out of luck in this case. You’ll have to find a way to wiggle it out without damaging the internals.
The second reason it may not come out of the brush handle is battery leakage. Batteries may leak and leave a white, powdery crust on the inside. If you want to remove it, you’ll need to dissolve the white crust with white vinegar.
Replacing Quip Floss
Quip offers two types of floss: a floss dispenser and a floss pick dispenser. Each one is easy to refill. However, they require different steps to open.
Let’s go over how to refill the standard floss dispenser.
Floss Dispenser
The floss dispenser is simple to refill. First, start by bringing out the dispensing head. Once it’s out, you’ll need to pull it out.
You might need to put some effort into doing this, but be careful not to use too much force. Now we should be able to see the inside of the dispenser.
At this point, there will be two pull-out tabs you can grab. Pull the empty floss container and toss it in a recycling bin.
Unpack the floss refill; it will come out with a piece of floss sticking out. You don’t have to cut this off. Instead, route it through the dispensing head. There should be a hole you can slide the floss through.
Finally, slide the floss refill inside together with the dispenser head. You’ll need to press down hard until you hear a heavy click. This click tells us that the head is secured.
Open the floss dispenser and remove the rigid piece of floss. It should be good to go now. Here’s a video from Quip to guide you along the process:
Floss Pick Dispenser
If you want to refill the floss pick dispenser, open the pod first. In the middle, there should be an indented circle; place your thumb on it and press down.
Pressing down on the divot will unlock the dispensing top. Continue the process by sliding it out. From here, flip it over, and you’ll see the floss pod.
Slide it out and throw it in with your recyclables. Then, unpack the new floss pod; slide it into the dispensing top.
The new pod will have some rigid floss hanging out; take it and thread it through the hole on the left of the dispensing top.
Finally, flip it over and slide the dispensing top back onto the case. Of course, remove the rigid portion of the floss. When that’s all done, the floss pick dispenser should be ready.
If you need help visualizing the process, here’s a video from Quip to guide you:
When Should I Replace My Quip Head?
Click here to see these Quip brush heads on Amazon.
Quip recommends replacing the brush head every three months. They will automatically ship it to you once it’s time with their subscription service.
Though, some people are hesitant to subscribe to a service. If you’re one of these people, you should probably follow the ADA guidelines instead. The ADA also recommends replacing the brush every 3-4 months.
If you want to hold out for longer, use the brush as long as the bristles aren’t matted or frayed.
What Can I Do With My Old Quip Heads?
Now that you’ve replaced the brush head, what’s there to do with the old one? You might be inclined to throw it in with the recyclables, but Quip doesn’t recommend that.
The brush head uses non-recyclable nylon bristles. Instead, Quip suggests repurposing them. If you plan on doing that, you should disinfect them.
Pour some antibacterial soap on the bristles and run it through warm water for 30 seconds. Then, fill a cup with water and one teaspoon of hydrogen peroxide; dip the brush head into the solution.
Finally, rinse it off. At this point, it should be ready to use for anything that may need cleaning.
In Closing

Quip keeps things relatively simple. Though, you might need time to memorize how to remove the parts. In any case, we hope you found this guide helpful. Replace your Quip toothbrush’s components without any doubts now!
