While other materials can be used for dining tables, most people prefer the classic good looks of wood. However, wood can be tricky to take care of. It tends to warp in certain circumstances, and dust can cause damage to it. To take care of your wood dining table, there are several important steps to cleaning it properly.
Cleaning Your Wood Dining Table
There are many things that can accumulate on a wood dining table, so cleaning it requires different steps to get rid of them all. Start by dusting the surface of the table to keep the table from being scratched by the dust particles. Then, use a cloth that is barely damp to wipe away loose debris that is still on the table. Next, use a moist cloth with a few drops of soap in the water to tackle the tougher items like sticky places and crumbs that are stuck to the surface. Finish the job by thoroughly drying the surface of the table.

Keep Cold Items Away
Before you clean your table, it’s important that you maintain rules for the table to keep it from getting stained. Having cold drinks directly on the table is a good way to get ugly rings in the finish. You need to have some rules for what can go on your table and what has to be kept off. If a meal includes cold drinks, consider using a table cloth or coasters on the table to keep it in better condition.
Dust Your Table
When dust builds up on a wood table, it can scratch the surface. There are many useful dusting products today, so using a spray dusting solution is no longer necessary. There are electrostatic dusters that pick up dust like a magnet and don’t just send it up into the air like old-fashion dusters. Getting the dust off gently is the first step because scrubbing your table with dust on it can result in scratches in the wood.
Wipe It Down

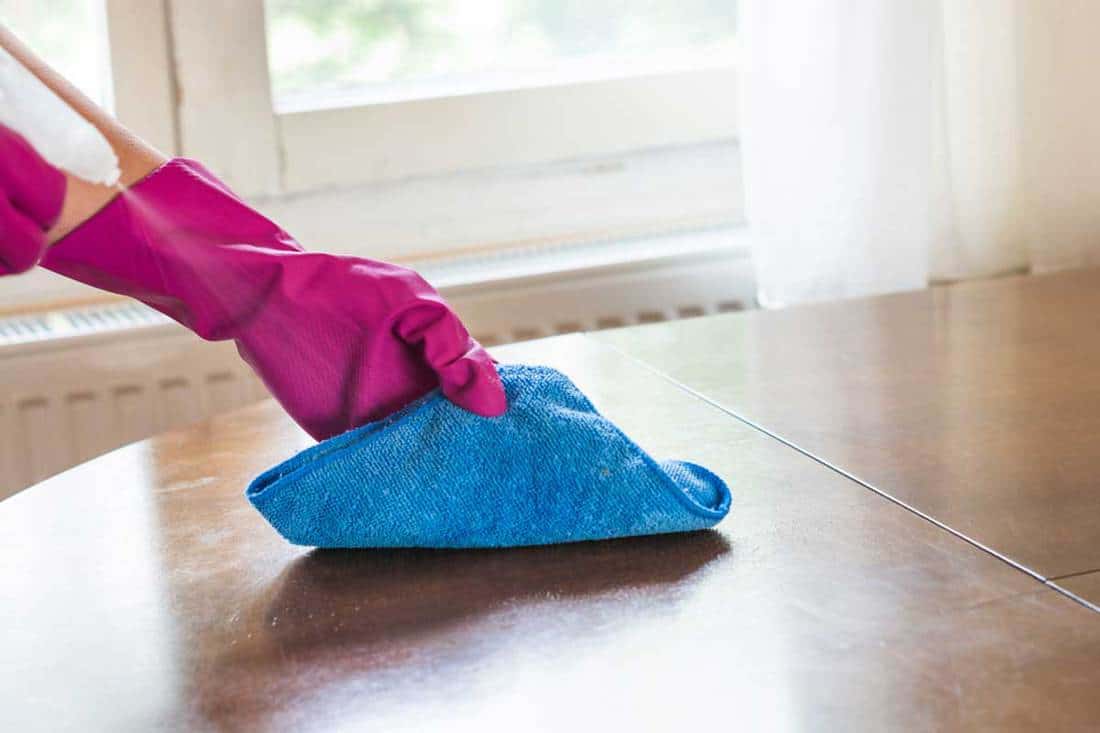
After you have dusted the table, you can get into cleaning off the surface crumbs and grime. Some of the crumbs will have come loose during the dusting phase, but others have had enough moisture in them that they stick to the table. To clean the surface effectively, get a microfiber towel and get it just a little bit moist. Then, gently rub every part of the table’s surface to loosen grime and get rid of loose particles.
Then, mix a little bit of soap in some warm water and dip your towel into it. Once all of the surface grime is gone, you can use this cloth to gently rub the surface again to get rid of anything sticky that may be on the surface. This will also get rid of any crumbs and debris that were stubbornly hanging on. Be sure to spend a little extra time getting into any inlaid designs or carvings and cleaning them thoroughly.
If this doesn’t loosen all the debris on the table, try moistening a cloth with hot water. This should get any stubborn pieces off the table and lift them away.
Water Rings
Unfortunately, even if you are careful with the cold drinks on the table, water rings can eventually appear. However, there is a simple way to get rid of those rings. Just mix together one part olive oil and one part vinegar and dip a soft cloth into the mixture. Then, use the cloth to gently wipe the ring. Move in the direction of the grain of the wood. After you have done this, wipe the olive oil and vinegar mixture away with a soft, damp cloth. As a bonus, the vinegar has disinfecting properties, so this also helps to sanitize your table.
Dry the Wood
After you have used any moist towel on the surface, be sure to take the time to dry the table thoroughly. Leaving water on the wood can ruin the finish and even warp the wood. Make sure the surface is completely dry before you are finished. Water is one of the most destructive forces for wood furniture.
Polish Your Wood Table
One of the reasons that we love wood tables so much is their finish and shine. Over time, the shine may wear off and the table may have more of a matte finish. Use a soft cloth that won’t leave lint behind, and dip it in carnauba wax. Then, rub it gently across the surface using a circular motion. The goal is to spread it thinly across the surface and to keep it at an even thickness. Once you have applied the wax with one towel, get another, dry towel. Use that towel to polish the surface. This step can take a while, but waxing the table will leave it looking like new after a thorough cleaning.
Oiling Your Table
Instead of using wax on your wood table, you can also use a wood oil. To do this, use a clean, lint-free cloth to apply the oil to the surface, moving in the direction of the wood grain. The oil should sit on the surface for about 10 to 15 minutes and then should be wiped off with a clean, dry cloth. Doing this two times will leave a healthy shine on the surface.
Dust Regularly
To keep your finish looking good, be sure to dust your table’s surface at least once a week. This keeps dust from building up and causing small scratches in the finish. It also keeps the surface from looking dull. Use a cloth that is lint-free, and don’t use the spray dust cleaners on the table. These have silicones in them, and these chemicals can get into the wood grain and cause it permanent damage. Using an electrostatic duster is helpful, as is very lightly dampening a cloth such as an old t-shirt or a cheesecloth and using that to dust it.
Measure the Humidity
Your dining table and any other wood furniture in the house can become warped over time if the humidity levels are too high in the house. The ideal range for humidity indoors is about 40 to 45%. If it gets much lower, the wood furniture, and even wood floors can crack from the dry air. If it gets much more humid, wood furniture, trim and floors can swell up with the moisture and become warped. Depending on the climate where you live, you may already have the ideal humidity inside. However, if the humidity is too high, consider using a dehumidifier inside to bring that number down. If the humidity is too low, you can use a humidifier regularly to raise that number.
Remember the Leaves
If you have extra leaves for your table, it’s a good idea to clean those at the same time that you clean the table so that they are ready to be used when they’re needed. They may not need as thorough a cleaning, but they can always use dusting and either waxing or oiling. Be sure to store them so that they won’t cause scratches to the other pieces. Putting a thick cloth in between each of them can help them to stay stored safely.