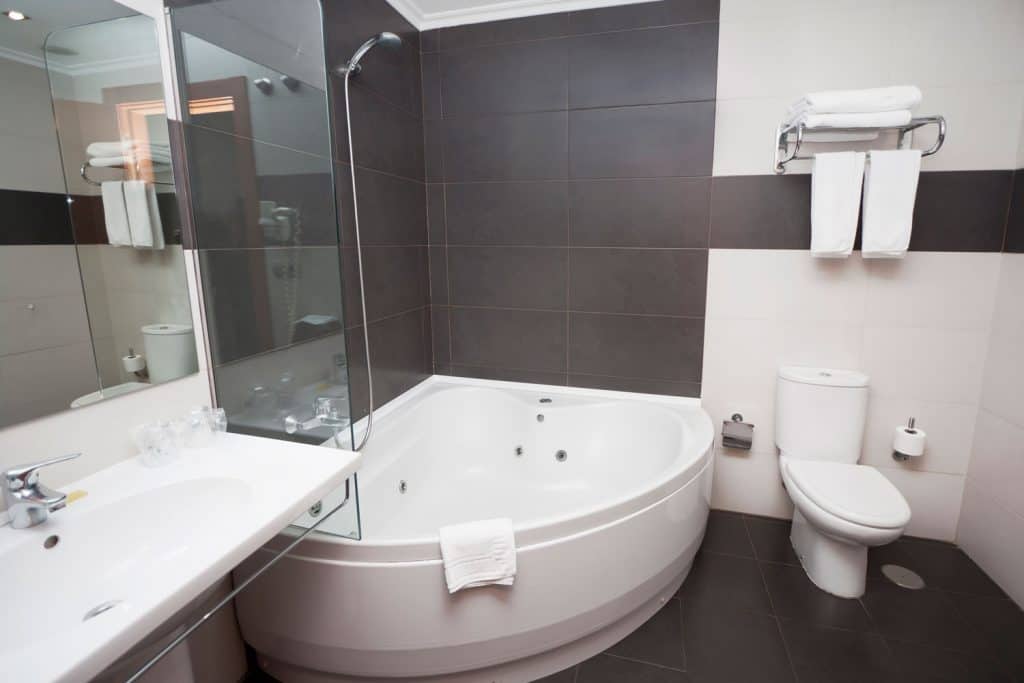
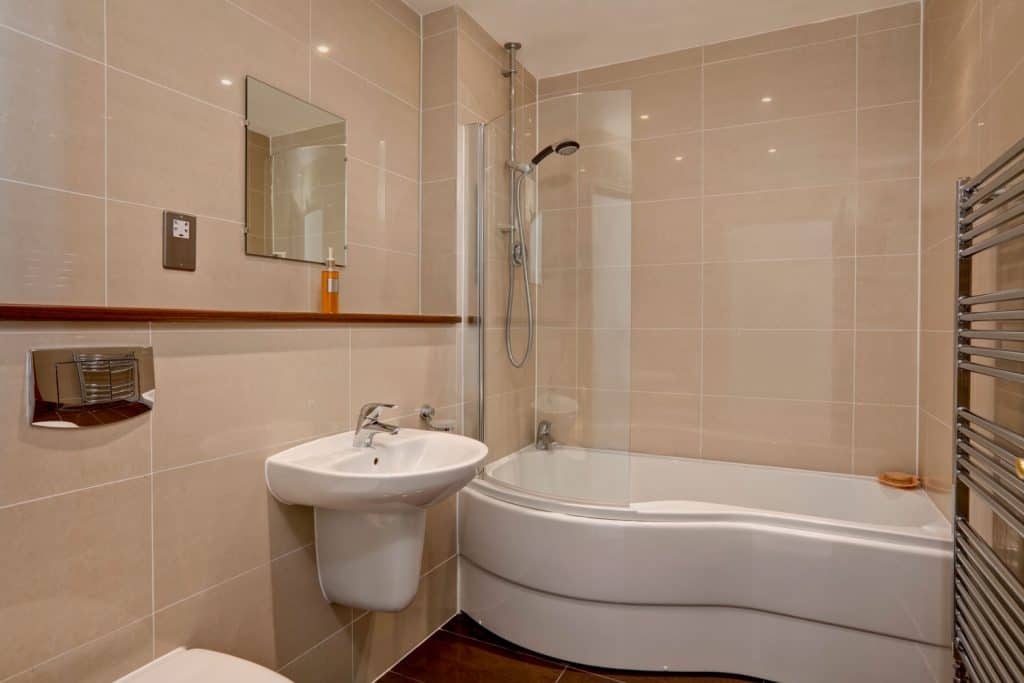
For spa time, the Jacuzzi tub is the best. For those splash and dash days, consider adding a shower to allow for a speedy exit. Plus, the showerhead and can be used to wash down the tub during cleanings. We’ve researched the best ways to add a shower to your tub.
With time and basic plumbing knowledge, it’s reasonably simple to replace the bath spout to attach a shower. There are four ways to add a shower to your jacuzzi tub:
- Slip-on attachment: connects easily to the existing bath spout.
- Diverter Spout: change out the bath spout to include one with a diverter spout.
- Exposed shower: where the shower plumbing is part of the décor.
- Standard hidden shower: the shower plumbing is in the wall, with just the shower and valve on the tub side.
Most of the upgrades are easy to do and can be completed quickly. Keep reading to see which solution will work the best for your situation; we’ll explain them all!
Shower Options for a Jacuzzi Tub
When deciding, think about how often you are planning on using the shower, how much work, and how much money you are willing to put into the project.
Beware that most bathtubs do not have water-shut-off valves. When the water is turned off at the main water line, the household may be without water while the new spout is installed.
1. Slip-On Attachment
For a quick and easy switch, use a slip-on attachment that connects to the existing bath spout. Use this attachment as a shortcut for the occasional shower in the tub. It is not recommended for long-term use as it can develop leaks.
Click here to view this attachment on Amazon.
Installation Note
Soak the connection end in hot water for 5 minutes to make the plastic more pliable. Slide the hose end over the bath spout, then tighten the clamp.
2. Diverter Spout
Change out the existing spout with a new one that includes a diverter spout. The diverter spout contains a lever that can switch the water path from the tap to the showerhead.
This spout includes a connection to allow a hand shower to be securely connected. With this connection, connect a hand shower without major plumbing within the walls.
Click here to see this diverter spout on Amazon.
Attach your favorite hose to the diverter spout and consider where you want the showerhead to be attached. You can get a bracket or stand to hold the showerhead and hose.
How To Install
Changing the spout is a quick and inexpensive way to add a showerhead.
- Turn off the water. While you can change the spout with the faucet turned off, there’s always a chance of leakage, and it’s always a good idea to turn off the water source by turning off the shut-off valve. If there isn’t a shut-off valve near the tub, it may be necessary to use the home’s main shut-off valve.
- Remove the current spout. Check underneath the fixture to see if there is a set screw. If there is, unscrew it to remove the tap. No screw means the spout is threaded on and can be removed by turning the entire fixture counter-clockwise.
- Clean the area around the spout pipe. Wrap the pipe threads with Teflon tape.
- Install the new spout. Screw it on clockwise until snug, then make sure the tub outlet is pointing down. A spout with a set screw is slid on, pointing down, then tighten the screw.
- Seal around the spout at the wall with silicone caulking.
- Wrap the shower attachment threads with Teflon tape. Attach the shower hose.
- Turn the water back on. Enjoy the new shower!
3. Exposed Shower
The exposed shower is one where the pipe is viewable. The pipes are part of the showerhead and are a classic look for the bathroom. It attaches to the bathtub faucet.

How to add a shower to a tub. While the tub in the video is a claw foot, the installation principle is the same.
4. Standard Hidden Showerhead With Plumbing Inside the Wall
The most permanent and more time-consuming addition is installing the showerhead and the faucet into the wall. This style works best if the tub is built into the wall.

This style requires knowing how to install and change your plumbing. Don’t feel bad about hiring a professional if it feels intimidating.
How To Install In The Wall
Here are the general steps to get you started. These steps assume that there is already plumbing to attach to in your bathroom.
- First, figure out the height of the valve and the shower head neck. Measure the height from the floor and the distance it will come out from the wall.
- Take those measurements to the other side of the wall and mark them. Make sure to find the studs.
- With a keyhole saw, cut a horizontal line between the studs slightly above where the valve will be. Once a line is cut from one stud to the other, cut down to the floor. Keep the drywall in one piece as you cut, as you will be able to use this piece to patch the wall after the shower plumbing is installed.
- Drill out the holes for the valves and plumbing connections.
- Calculate where the pipes are to go. Double-check by assembling the parts to make sure everything is where it should be.
- Fill pitchers and buckets with water to last about a day, then turn off the water.
- Cut the cold water pipe at about 5-1/2 inches from the floor. Cut the hot-water pipe at 3 inches from the plate in the wall. Use 90-degree elbows to direct the lines into the shower system. For the best showerhead performance, use a 3/4-inch supply line that can handle 50 psi of pressure.
- Sweat and solder copper pipes together. If the house has PVC plumbing, use glue to connect the pipes.
- Connect the valves and shower. Copper pipes do not need time to set. PVC will need time. Check the glue instructions to see how long before the water main can be turned back on.
- Enjoy the shower!
How much does it cost to add a showerhead to a bathtub?
Nationally the average cost to add a showerhead to a bathtub runs from $80 through $218. The cost changes depending on the location and details of the project. You can get a better idea of the cost with this cost calculator.
Do showerheads come with valves?
Showerheads generally do not come with valves. Make sure to read the contents of the box when purchasing. Shower valves that may need to be purchased separately include pressure-balancing valves, diverter valves, thermostatic valves, mixing valves, and transfer valves.
Pressure-Balancing Valve
The pressure-balancing valve is usually a single handle and control. The mechanism controls the flow of water, keeping it consistent.
Click here to see this pressure-balancing valve on Amazon.
Diverter Valve
Diverter valves direct water from the shower to the tub. These are usually paired with pressure-balancing valves.
Click here to see this diverter valve on Amazon.
Thermostatic Valve
Thermostatic valves will automatically adjust the hot and cold water flow to equal the temperature selected by the dial on the faceplate.
Click here to see this valve on Amazon.
Mixing Valves
Mixing valves, simply mix the hot and cold water together to create a balanced temperature. Their downfall is if a toilet is flushed, it can change the temperature of the shower.
Click here to see this mixing valve on Amazon.
Transfer Valve
Transfer valves are necessary if you are installing multiple showerheads. They keep water moving to all heads.
Click here to see this transfer valve on Amazon.
Safety & Tub Maintenance
Waterproofing
Think about waterproofing. While the bathroom may be tiled, that will not be enough as tile and grout alone are not entirely waterproof. For most tubs, a simple shower curtain is enough. Other tubs installed in the walls will need waterproofing up to a height where water will not reach or to the ceiling.
Click here to see this shower curtain on Amazon.
Anti-Slip
Add an anti-slip device to the bottom of the tub. Most jacuzzi tubs are not intended to be used as showers, so the bases are more suited for sitting.
Click here to see this mat on Amazon.
The Outcome
Adding a shower to a tub is relatively simple. Most upgrades can be accomplished in as little as 10 minutes or as much as a day. Make sure to plan to make a seamless transition. Then enjoy having the option to take a quick shower or soak in the tub.


