Embarking on the journey of organic gardening can be both fulfilling and daunting, especially for new homesteaders. The initial setup of your garden lays the groundwork for years of sustainable harvests. By focusing on healthy soil and strategic companion planting, you can transform an unkempt area into a bountiful source of food. My early experiences taught me that switching from straight rows to curved beds, paired with mulched paths, significantly reduced the tediousness of weeding. While many notice the vibrant plants, it’s the thoughtful arrangement of beds, edges, and crop rotations that truly sustains a flourishing garden. Here are several essential tips to help you cultivate your own organic haven.
Raised Beds Make Gardening Easier
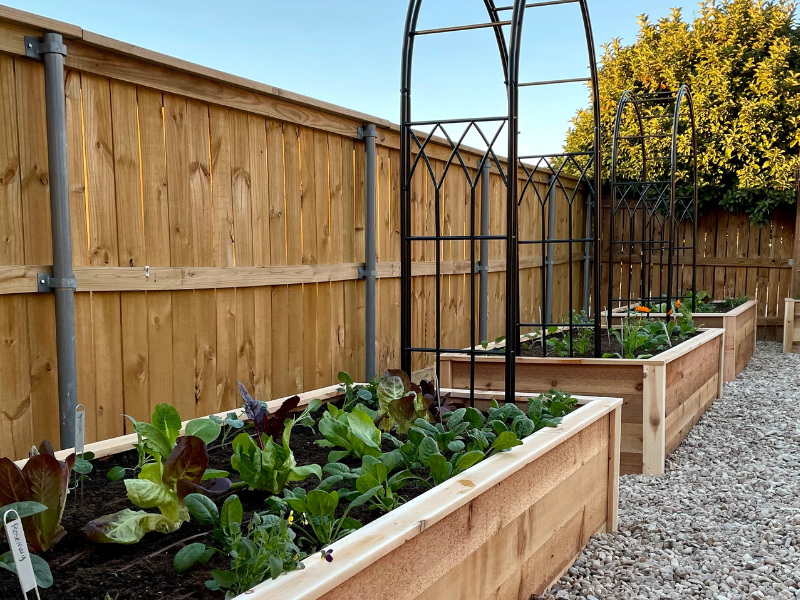
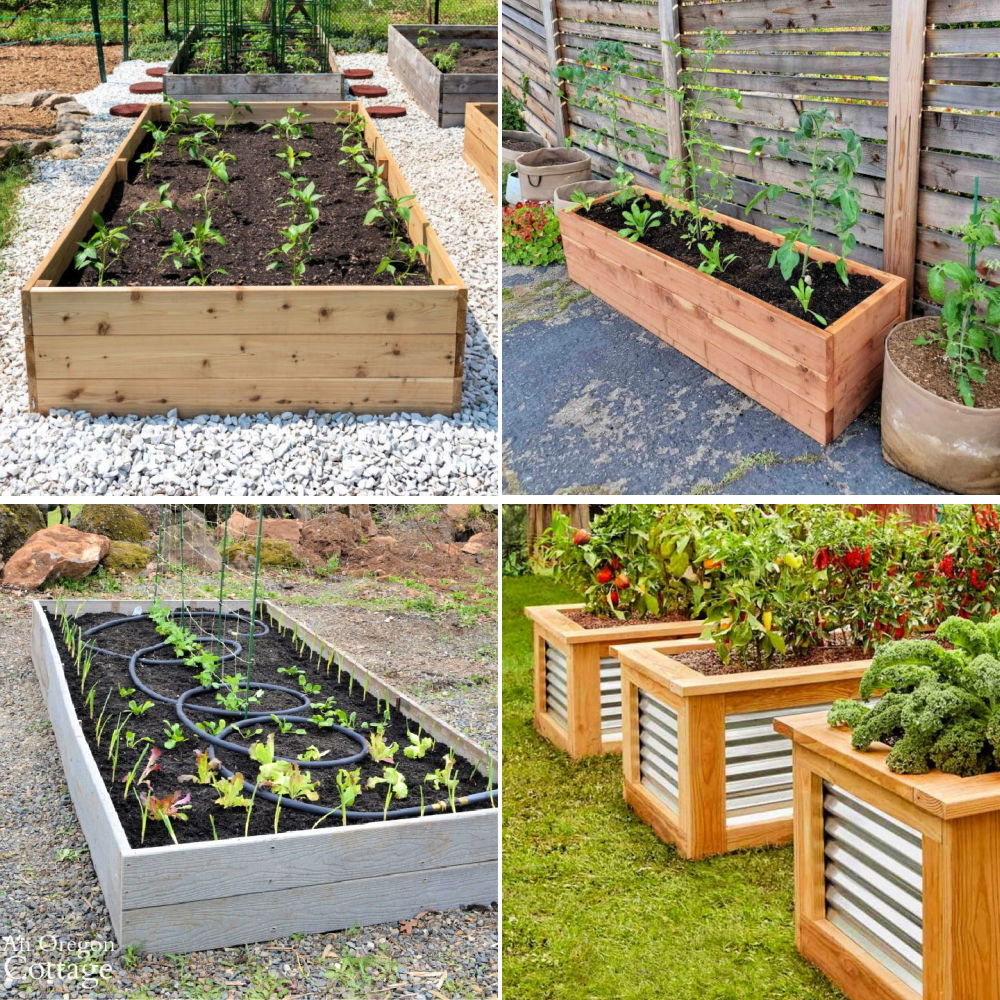
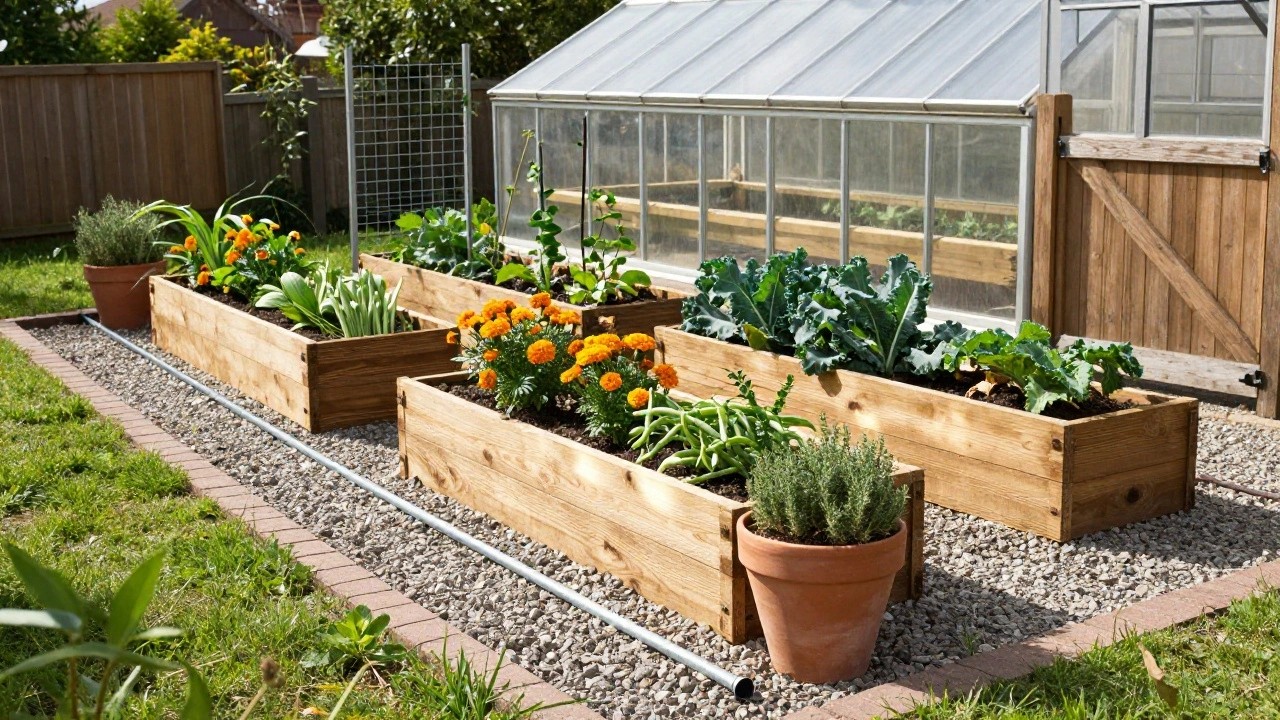
Raised beds present a user-friendly approach to initiating your organic vegetable garden. Constructed from untreated wood, these elevated plots host a variety of plants such as kale, pak choi, and marigolds while keeping them off the ground, where weeds and pests often thrive. Additionally, the soil in raised beds warms up faster and drains effectively, alleviating the challenges posed by tough yard dirt.
For those with limited space or subpar soil conditions, raised beds serve as an ideal solution. You can easily create them using untreated cedar planks, typically a foot high, and fill them with a rich compost blend. Placing these beds in a sunlit area and surrounding them with a gravel path allows for effortless access. Just remember to monitor the wood for signs of rot and treat it as necessary to ensure longevity.
Curved Brick Paths Guide Small Garden Flow
In a compact backyard, a gently winding brick path can enhance both aesthetics and functionality. This design gracefully meanders through clusters of vibrant yellow flowers and rock-edged beds, leading to a cozy wooden bench. The natural curve feels inviting and prevents foot traffic from compacting the mulch, guiding the eye through the garden’s beauty.
For a sustainable approach, consider using reclaimed bricks or pavers, laid loosely on a sandy base to promote drainage. Edging the path with smooth river rocks adds a touch of elegance while keeping weeds at bay. This method is particularly appealing to beginner homesteaders who appreciate the charm of a low-maintenance, organic environment.
Backyard Greenhouse for Seed Starting
Establishing a small greenhouse is a fantastic way to kickstart your growing season. Inside, young plants can thrive, sheltered from chilly nights and heavy rains, making it an excellent choice for new gardeners focused on organic produce. This setup can seamlessly integrate into a standard backyard, ensuring everything remains productive and conveniently close to home.
Position your greenhouse in a sunny area that allows for ample airflow, ideally situated near your raised beds to maximize space utility. Opt for wood frames that are durable yet visually appealing. Adding a rain barrel can provide a sustainable water source, allowing you to enjoy fresh greens earlier in the season. Ensure proper ventilation on warm days to prevent overheating your delicate seedlings.
Raised Beds Made from Natural Stone
Constructing raised beds from local stone can significantly enhance the ease of organic gardening for beginners. These sturdy walls support well-draining soil while providing stability for plants. Imagine an apple tree nearby, illustrating how you can incorporate fruit production into your garden without occupying additional space. The natural stone not only adds durability but also minimizes weed growth and reduces back strain during maintenance.
Place these stone beds along a gravel path for straightforward access, especially in a backyard setting. They thrive in sunny locations with average soil conditions. Start modestly, with a height of two to three feet, and observe how your plants flourish. Be mindful, however, of areas prone to flooding; you may need to enhance drainage at the base.
Raised Beds with Marked Paths
Maintaining organization within your organic garden becomes effortless with the implementation of raised beds lined by clearly defined paths. Visualize neat rows of cabbage on one side, with beans on the opposite, separated by white lines that guide you down the middle. This strategic layout prevents trampling of plants while weeding or harvesting, creating a more manageable and less chaotic environment.
To construct these beds, utilize scrap wood or purchase ready-made kits. Outline your paths using string before marking them with flour or lime for visibility. Ensure that the paths remain at least a foot wide, which is particularly beneficial in backyard gardens that receive ample sunlight. Remember to refresh your path markings after rainfall to keep mud from making a mess.
Rock Edging Along Gravel Paths
One effective method for maintaining a tidy garden appearance is to use rocks for edging along gravel paths. This design creates a picturesque walkway that meanders through your plants, bordered by rounded stones that help contain soil and grasses. It lends a natural aesthetic that aligns perfectly with organic gardening practices, eliminating the need for plastic barriers or chemical treatments.
This technique is especially useful for sloping gardens or around vegetable beds, as it aids in water drainage. Start by digging a shallow trench, placing larger stones as a base, and filling in the gaps with smaller stones. For added charm and functionality, consider planting resilient grasses or succulents along the edges. This approach is ideal for beginners due to its cost-effectiveness and forgiving nature. Just ensure the path slopes slightly to facilitate runoff and prevent muddy conditions.
Build a Simple Layered Compost Bin
Diving into organic gardening can be made simpler by creating a vertical compost bin, such as one fashioned from wooden drawers. This design allows for the easy layering of soil, greens, straw, and kitchen scraps right in your backyard. The pull-out sections simplify monitoring and turning the compost pile, making it accessible for those just starting out. Many find it rewarding to convert waste into nutrient-rich soil, particularly when adding eggshells to entice worms.
Set your compost bin in a shaded area near your garden beds, as it can easily fit into smaller yards. Begin with a base layer of browns, followed by layers of greens and kitchen scraps, ensuring it remains moist without becoming soggy. To gauge when your compost is ready, track temperatures using a simple sign, as it typically takes around three to four weeks for each layer to break down. This method suits homesteaders aiming for consistent compost without investing in expensive bins.
Border Raised Beds with Lavender
To keep your organic garden looking vibrant and pest-free, consider bordering your raised beds with lavender. This setup features beautiful purple blooms encircling a wooden bed filled with greens, serving as a natural pest barrier. Lavender effectively repels unwanted insects like moths and fleas without the use of chemicals, while also adding visual appeal and a delightful fragrance.
This approach is particularly well-suited for beginner homesteaders working within smaller areas. Plant lavender along the sunny edges of your raised beds, pairing it with vegetables like lettuce or garlic. Keep the paths mulched to further simplify maintenance. A simple annual trim ensures that your lavender remains healthy and vibrant.
Vertical Gardening with Pallet Shelves
If space is limited in your backyard or on a patio, consider utilizing vertical gardening techniques with simple wooden shelves made from pallets. This clever design transforms a blank fence into a lush wall of greens, allowing for the growth of various vegetables and herbs without taking up valuable ground space. This practical solution is particularly advantageous for beginners, as it employs inexpensive recycled wood while keeping everything organized and off the dirt.
Ensure the structure is sturdy by incorporating cross braces, and fill the shelves with pots of leafy greens, herbs, or compact vegetables. This setup thrives in sunny areas close to your home for easy watering access. Be sure that the entire assembly is well-balanced; otherwise, it may topple over on softer ground.
Outdoor Brick Pizza Oven for Garden Baking
There’s nothing quite like harvesting fresh vegetables from your garden and baking them in a wood-fired oven right in your yard. This outdoor brick pizza oven setup offers a straightforward yet practical solution for beginners. As you prepare to bake, envision fresh radishes resting on a nearby wooden table, ready to be transformed into a delicious meal. This oven simplifies the process of turning your harvest into culinary delights, and its rustic brick design complements your organic garden seamlessly.
Position your pizza oven near a prep table, either on a patio or gravel area, close to your raised beds for optimal convenience. This design works best in backyards that receive ample sunlight and have some wind protection from hedges. Start with a basic kit or construct your own using bricks if you possess the necessary skills. Just ensure that the oven is set on a stable base, and keep children at a safe distance when in use.
Build Raised Beds with Logs
For those looking for a straightforward method to begin their organic gardening journey, consider constructing raised beds from stacked logs. This natural approach not only holds soil effectively but also allows roots to breathe, ensuring good drainage. Picture pumpkins and squash thriving in this setup, with healthy roots peeking through, illustrating how simple and effective this method can be.
To create these beds, stack short logs or wood slices two or three high for a height of about a foot. Fill the structure with quality garden soil, and select vegetables like zucchini or pumpkins that require ample space for growth. This method is particularly effective in sunny locations on flat terrain. Monitor the logs over time for signs of rot, refreshing them as needed every few years, making this an excellent choice for beginners aiming for low-cost homesteading solutions.
Start Seeds in a Small Greenhouse
A compact greenhouse can be a fantastic asset for beginners aiming to start seeds effectively. With shelves filled with trays of young plants and an overhead grow light, this setup facilitates growth even on overcast days. Keeping your seedlings safeguarded from wind and pests while providing a dedicated space for organizing tools and fertilizers is invaluable. This setup can fit comfortably in a modest yard.
Position your greenhouse in a sunny corner of your backyard or close to the house for easy access. Opt for metal frames with clear panels to maximize light exposure, using black trays to promote healthy root development with an organic soil mix. Label your pots with the names of the plants and their planting dates to stay organized. This arrangement is particularly suitable for small homesteads, but do keep an eye on watering to avoid over-saturating your delicate seedlings.
Raised Stone Beds for Front Yard Gardens
Utilizing raised beds built from a stone retaining wall can simplify the process of organic gardening. These beds, integrated into a stone wall along a sidewalk, allow for easy access to plant veggies, herbs, and flowers. The raised height minimizes the need for bending and provides a natural look that aligns beautifully with homesteading principles. They also neatly edge paths without appearing overly decorative.
Strategically position these beds in areas you frequently traverse, such as alongside your driveway or front walk. They are particularly advantageous for beginners, as the built-in drainage facilitates healthy growth while ensuring easy access for maintenance. For cost efficiency, consider sourcing stones locally. However, be cautious about height; maintaining a maximum height of two feet ensures stability and ease of care.
Frequently Asked Questions
Q: What if my seeds won’t germinate after planting?
A: First, check the soil temperature, as most vegetables require at least 60 degrees Fahrenheit to germinate. To encourage growth, warm them gently under a cloche or place them on a sunny windowsill. Patience is key, as germination typically takes around 7 to 14 days.
Q: How can I combat pests without resorting to harsh sprays?
A: Companion planting is an effective strategy; consider planting marigolds or nasturtiums in proximity to confuse pests with their scent. Additionally, a strong water spray can dislodge aphids, and ladybugs will naturally arrive to feast on them.
Q: Is it necessary to use compost, or can I rely on store-bought soil?
A: While fresh bagged soil can work well for initial planting, incorporating your kitchen scraps or grass clippings will foster microbial growth over time. Skipping compost can hinder root development, affecting plant health.
Q: My tomatoes appear yellow; what’s a quick fix?
A: Instead of watering daily with light sprinkles, try deep watering once a week. Additionally, adding crushed eggshells around the base can provide necessary calcium, helping them regain their green vitality.