Transforming a blank wall or an entire room into a vibrant family photo gallery wall can be an exciting and fulfilling project. This guide is designed to walk you through the essentials of crafting a stunning photo display that breathes life into your home décor. From selecting the right frames and layouts to curating the perfect images and embellishments, you’ll discover a range of options that suit both budget-friendly DIY endeavors and luxurious full-service installations.
A family photo gallery serves as a wonderful way to personalize any space, transforming it into a warm and inviting environment. Unlike traditional albums that often gather dust on a shelf, displaying your cherished memories on the walls allows you to enjoy them every day. It’s a celebration of your family’s journey, encapsulated in beautifully arranged photographs.
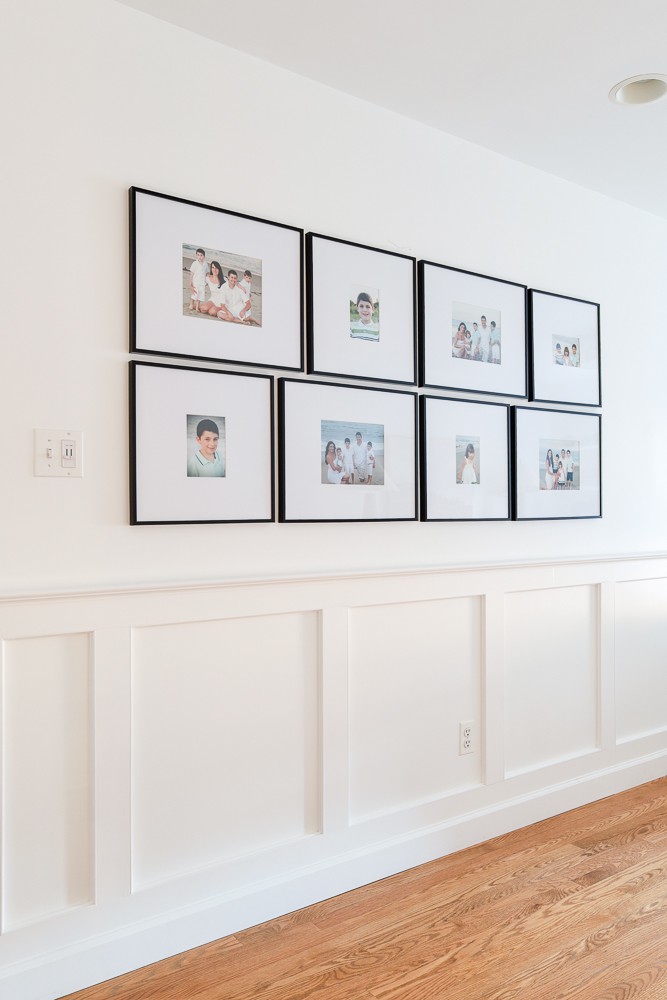
Unleash your creativity by incorporating various artworks and decorative items that can be arranged in diverse patterns to create a captivating visual impact. The right mix of photographs and embellishments can add depth and character to your home’s aesthetic, making it more engaging and visually appealing.
Affordable DIY gallery wall kit
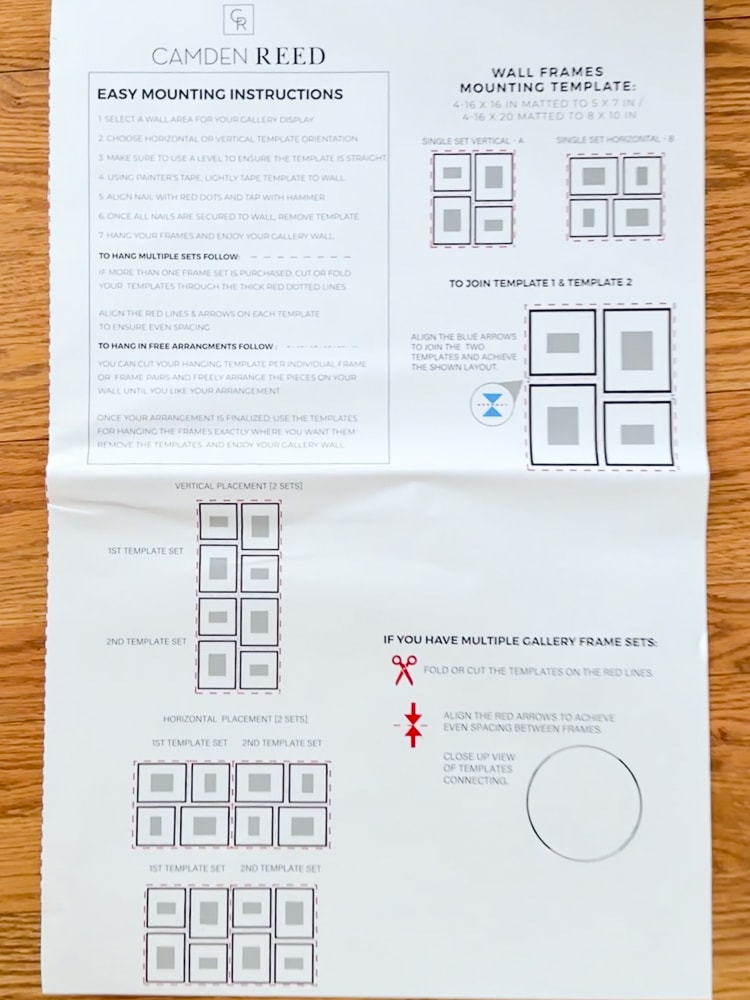
The choice of frames for your gallery wall can significantly influence the overall impact of your display. With a wide array of options available, one standout choice is the Camden Reed kit from Amazon. This affordable solution offers excellent value, featuring different finishes and multiple templates that allow for varied designs—all without the hassle of measuring.
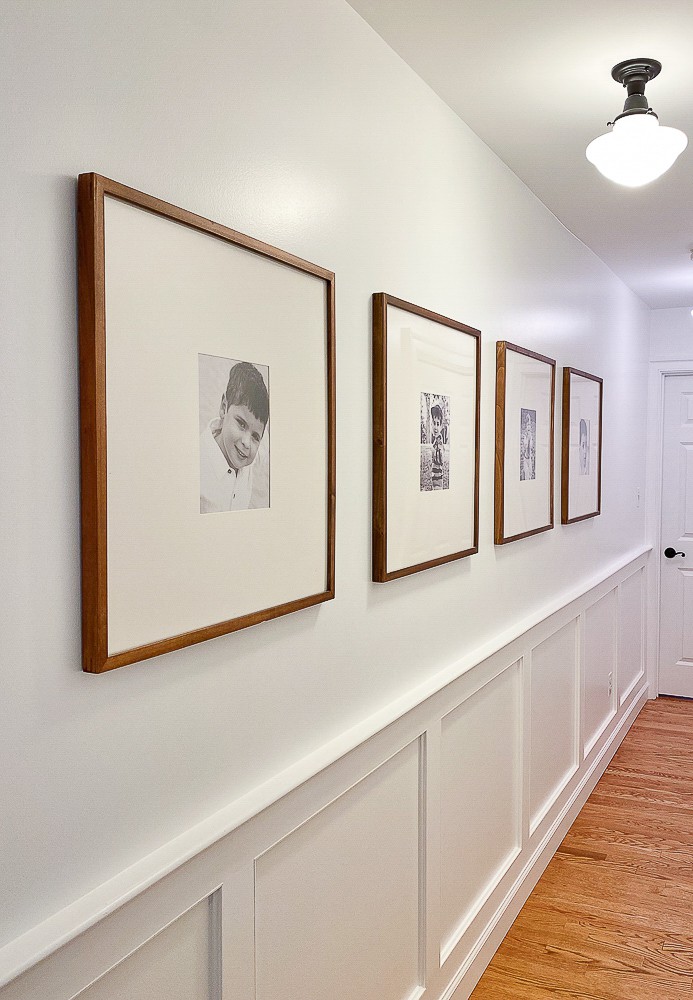
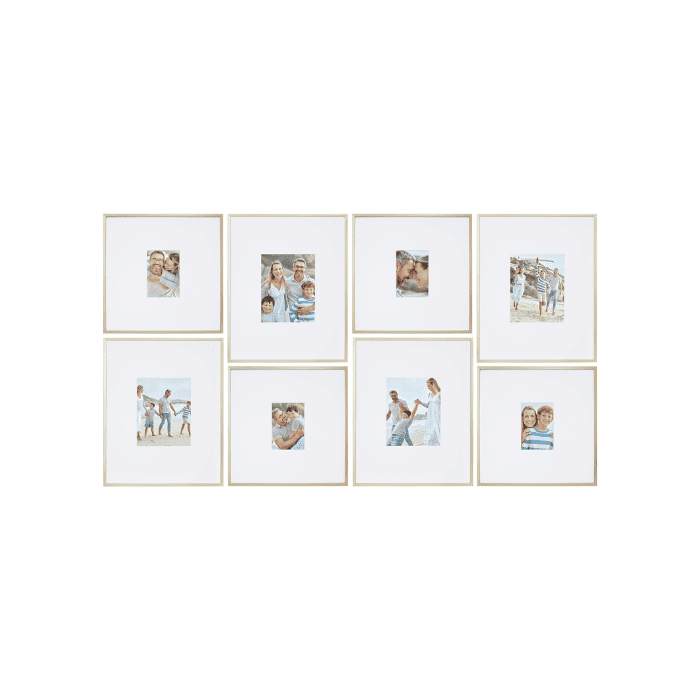
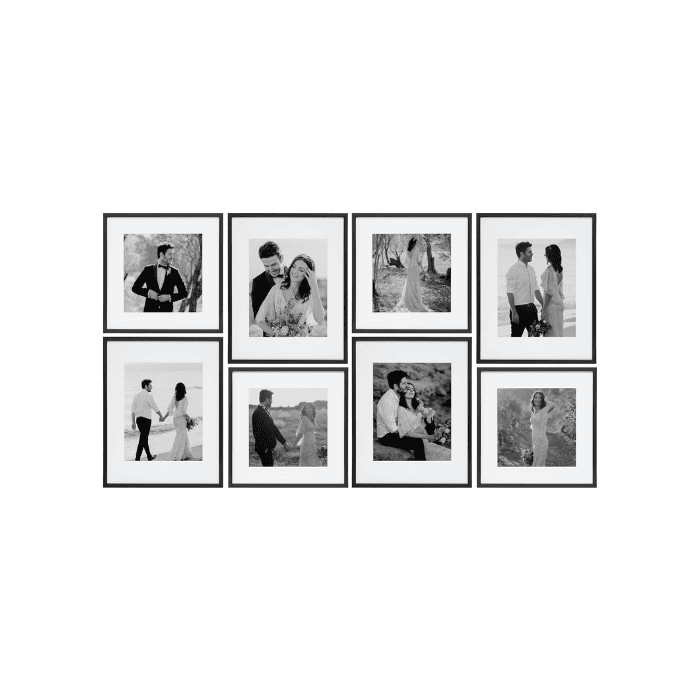
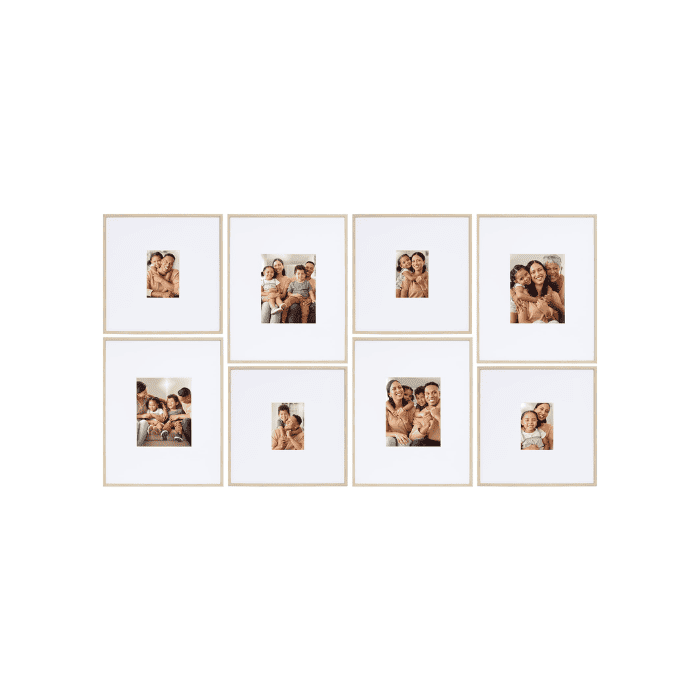
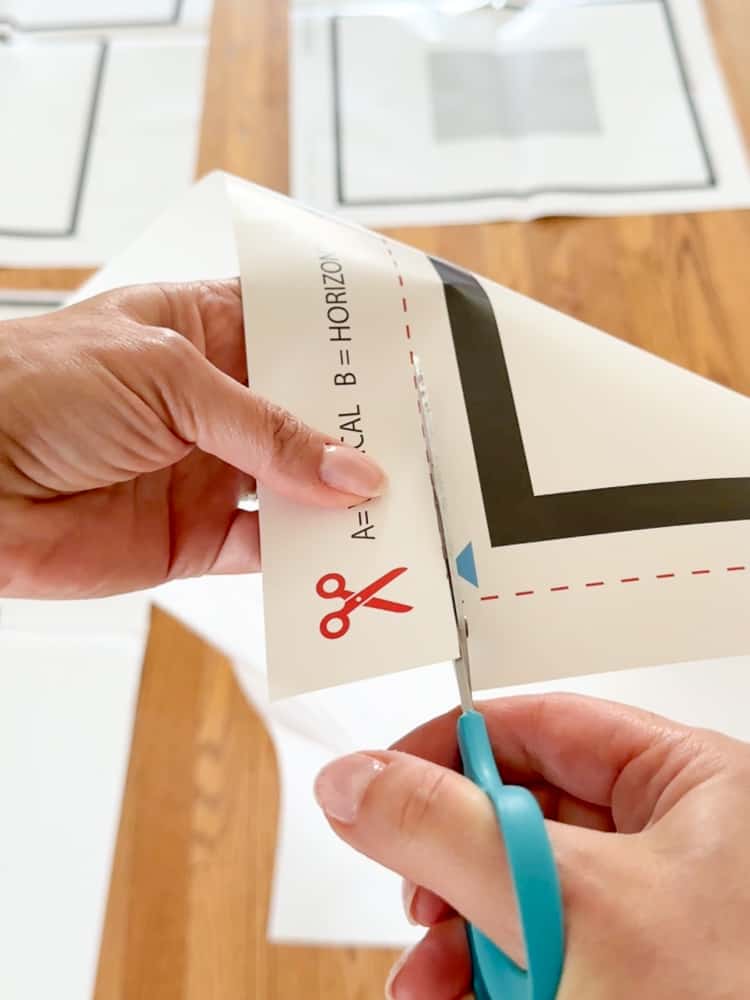
To create your gallery wall using this kit, begin by determining your preferred style. The frames can be hung either vertically or horizontally, or even spaced apart to craft a look that is uniquely your own. This flexibility means that you can tailor the arrangement to fit your vision perfectly.
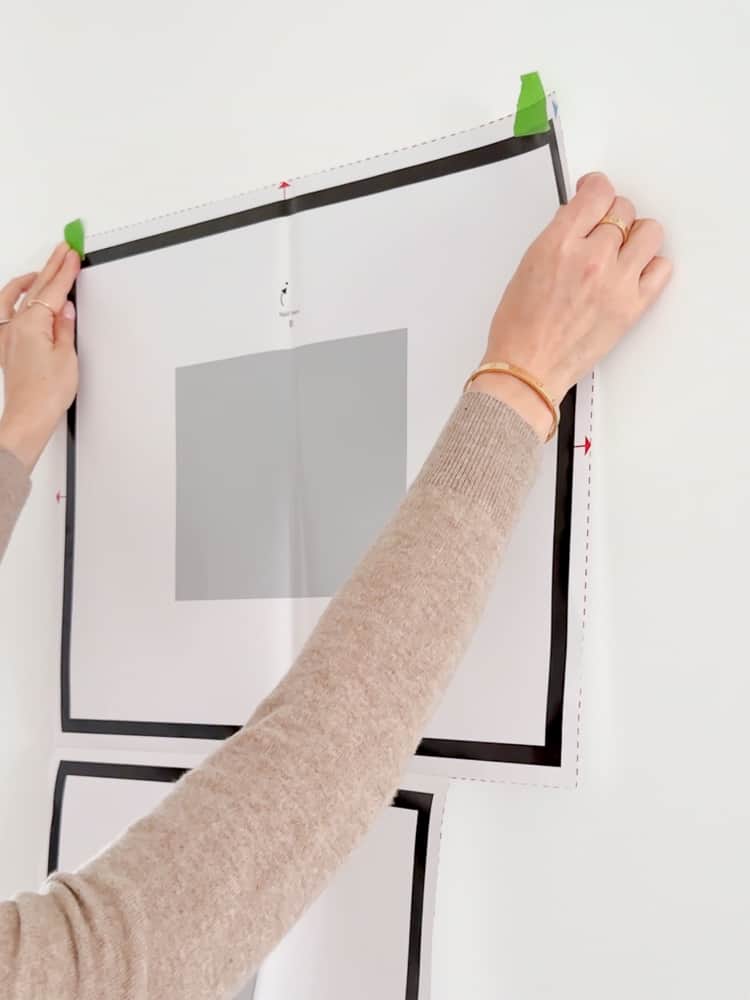
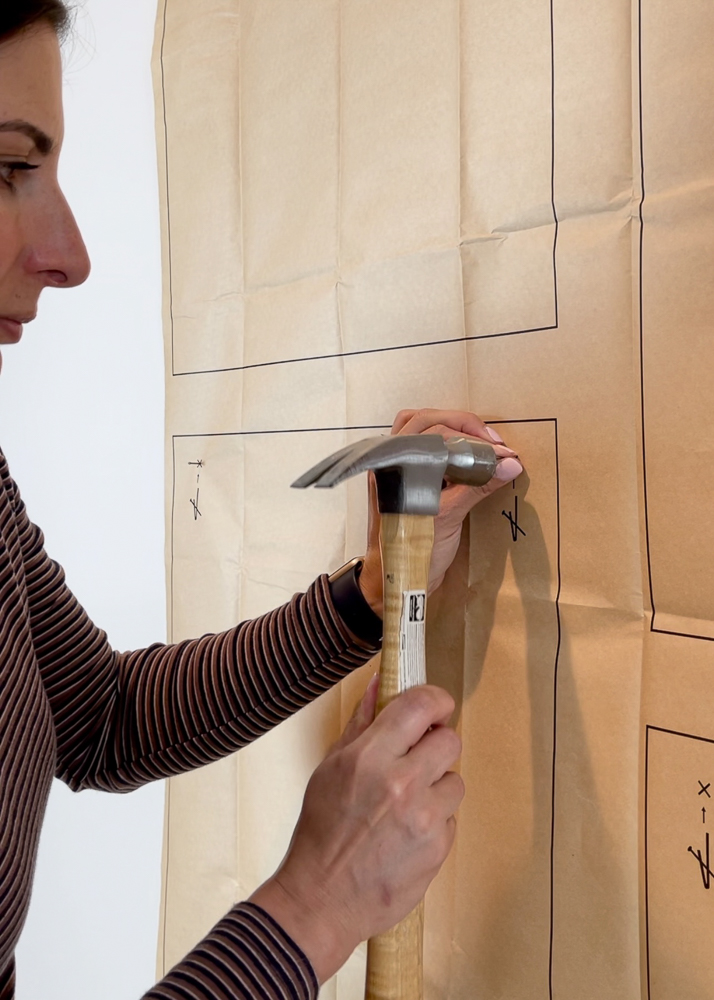
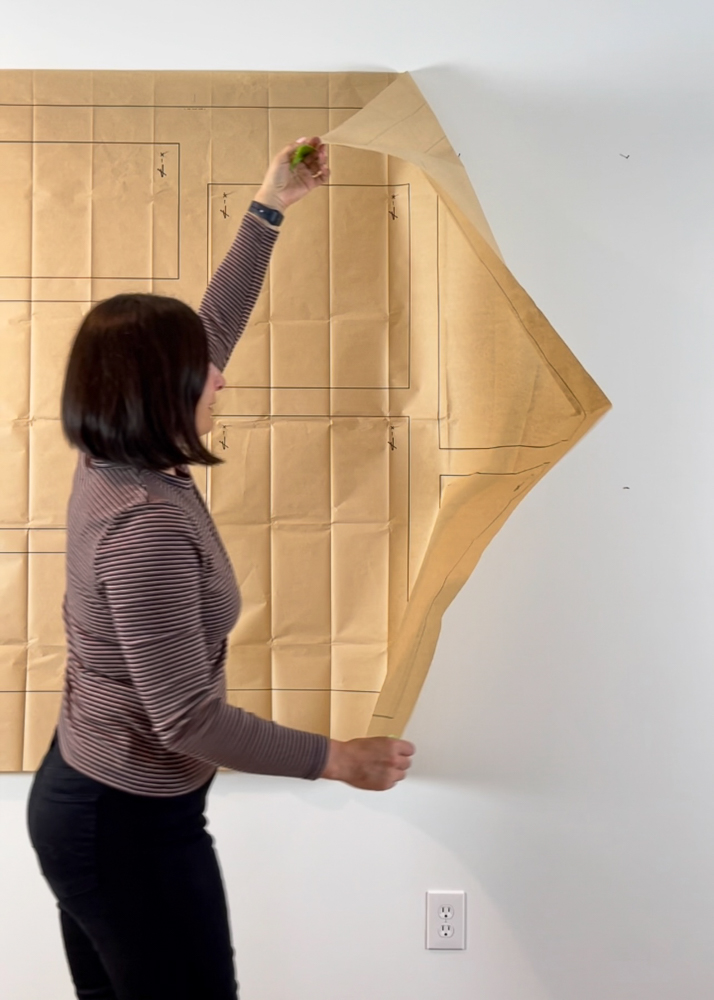
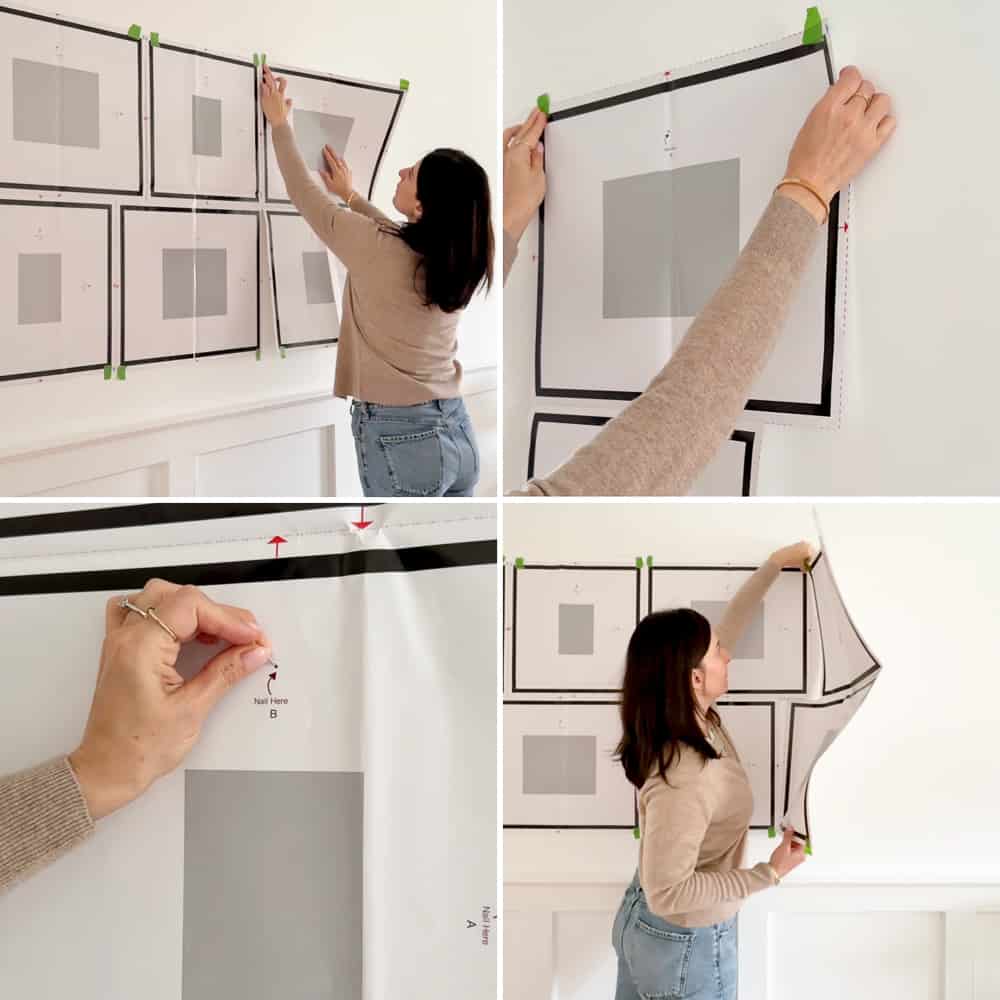
Next, cut along the dotted lines on the templates provided. Once you’ve prepared the templates, use painter’s tape to secure them to the wall. Employ a level or laser tool to ensure that your lines are straight, which is crucial for achieving a polished look.
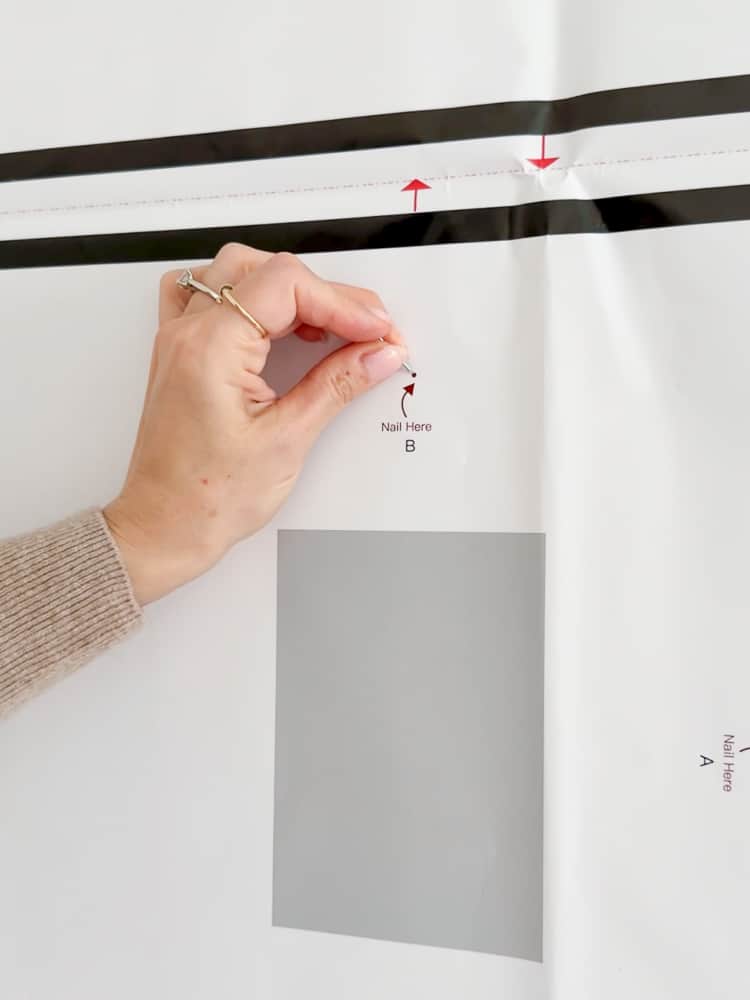
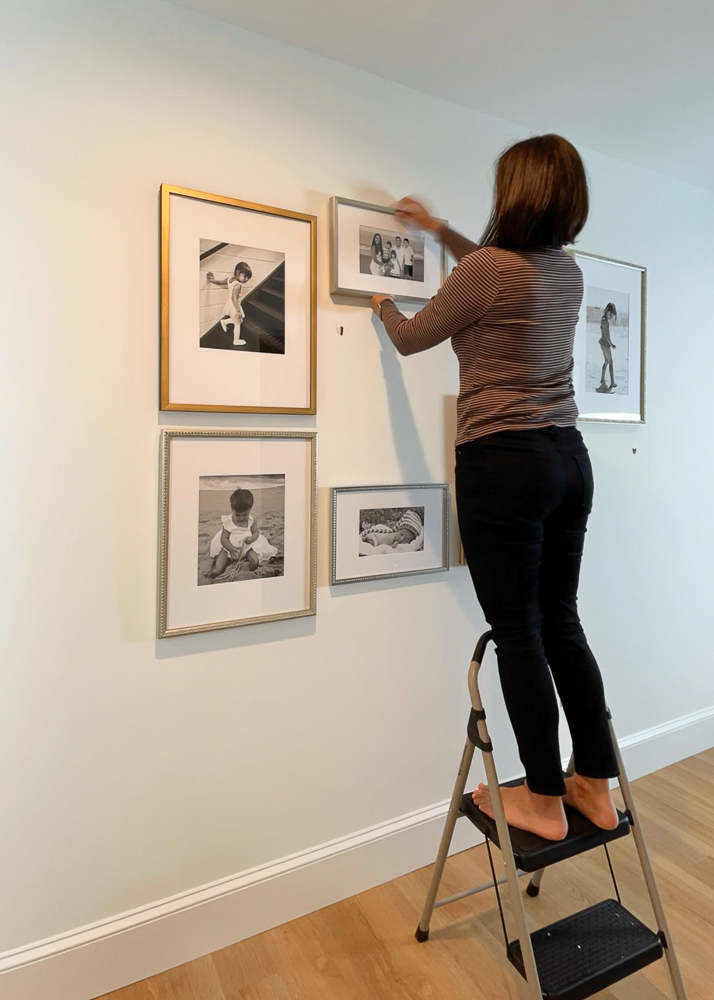
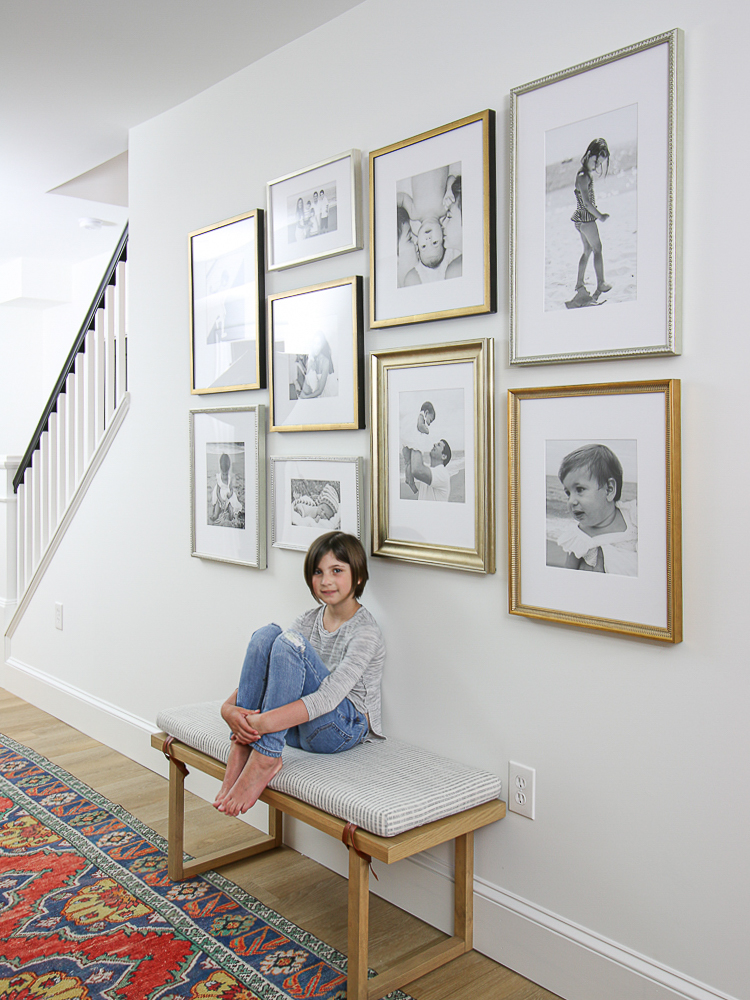
Once the templates are in place, align the arrows as needed, and gently hammer nails into the spots marked on the templates. Afterward, remove the paper template from the wall, leaving the nails securely in place. Finally, hang the frames on the nails and step back to enjoy your newly created gallery wall!
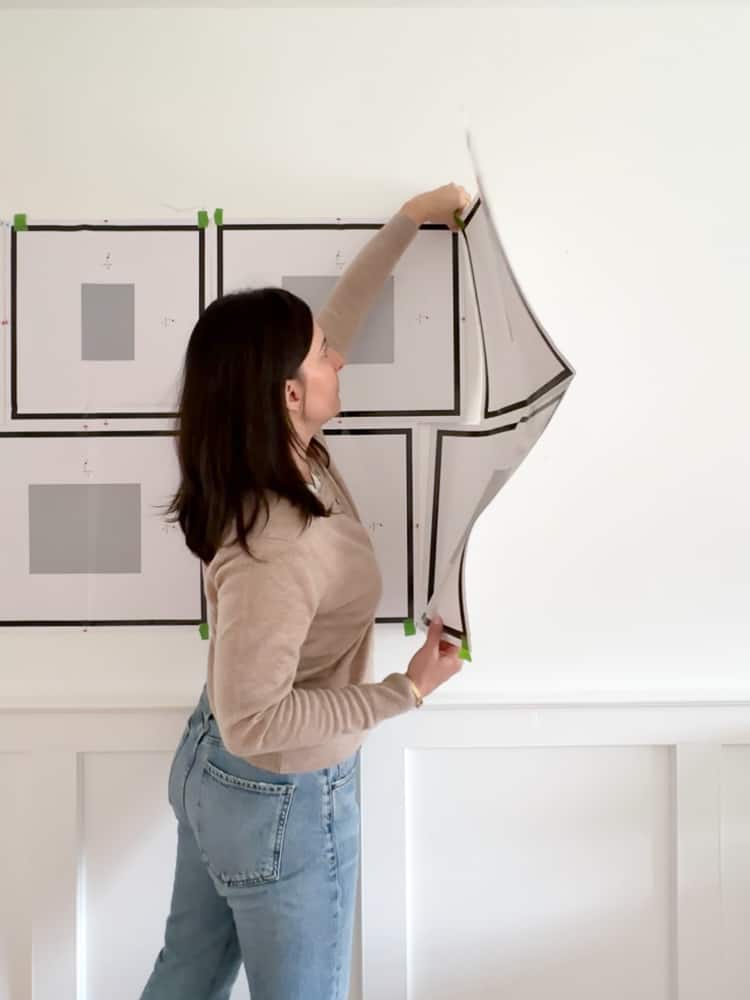
Full-service gallery wall kits
If you’re seeking convenience and a touch of elegance, full-service options like Framebridge may be the perfect fit for you. This service allows for a selection of gallery wall styles and placements, while also providing printing and framing of your photos. You have the option to send in original artwork for framing, making it a versatile choice.
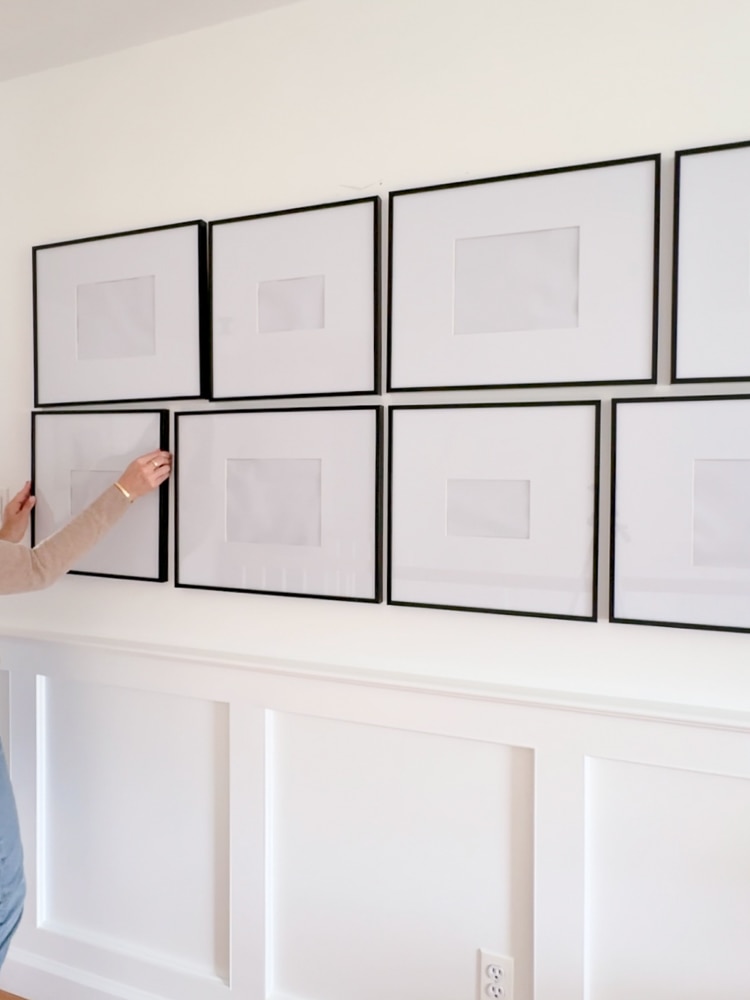
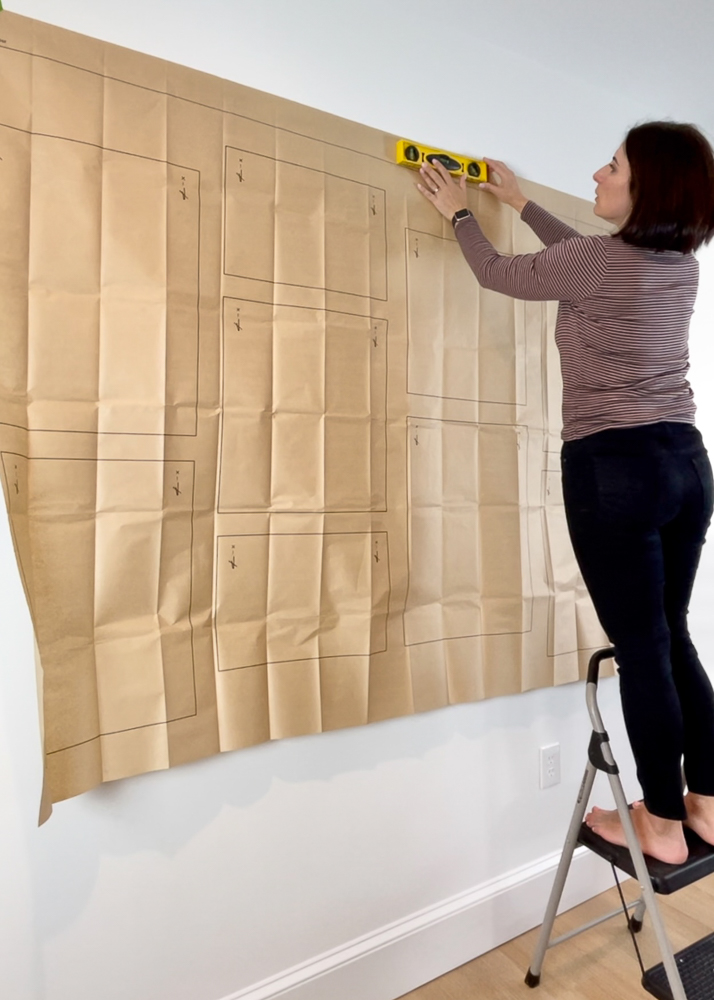
Once your photos are framed, you’ll receive them along with a large paper template to assist with the hanging process. As you can see in the accompanying photos, the template can be easily affixed to the wall using tape at the corners, and ensuring it is level is essential for a professional finish.
While this service may come at a higher price point, it’s important to consider the overall value. The expense of high-quality frames, combined with the time and effort spent on printing, archival quality framing, planning a design, measuring, and hanging can add up. When you factor in all these elements, the cost of a full-service gallery wall kit may seem more reasonable.
Types of gallery layouts
When it comes to creating a stunning gallery wall, various layouts can be employed depending on your style and the space available. Generally, I like to categorize gallery walls into two primary types: geometric and organic. Each has its unique charm and appeal.
A geometric gallery wall features frames arranged within well-defined shapes, such as rectangles or squares. This layout often employs uniform frames of the same color and size, creating a grid-like structure that is visually cohesive. Alternatively, you can opt for a geometric design that incorporates frames of varying sizes, provided they still align within the overall shape, lending a touch of interest.
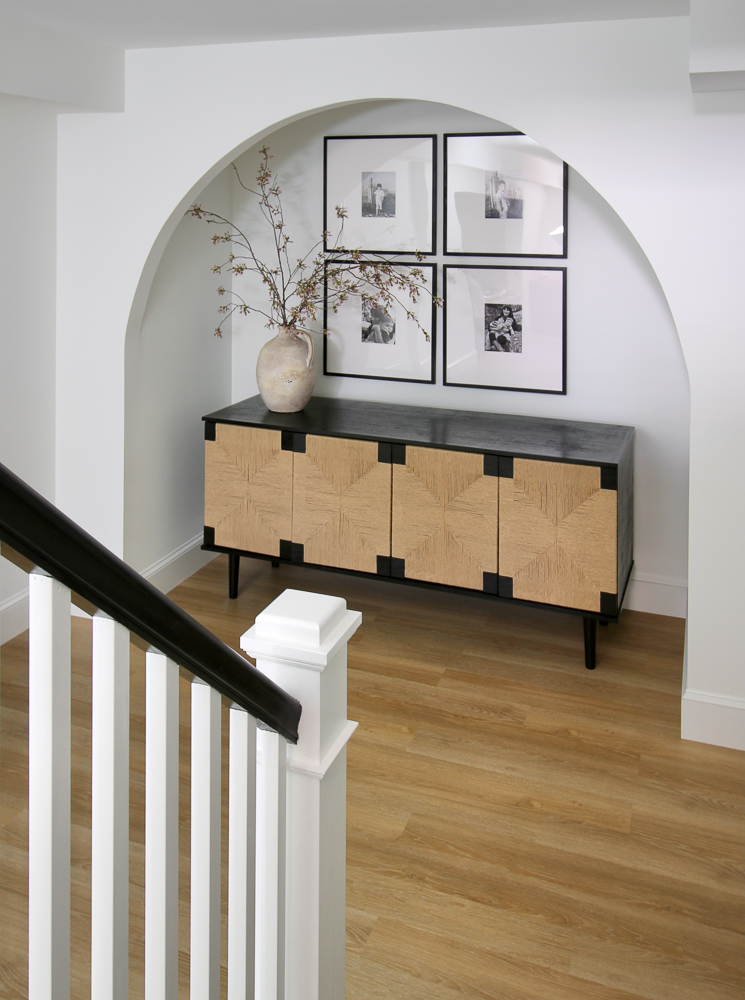
On the other hand, an organic gallery wall is characterized by a free-flowing arrangement of different styles and sizes of frames, eschewing rigid geometric shapes. This type of layout allows for a more eclectic display, inviting a sense of creativity and spontaneity.
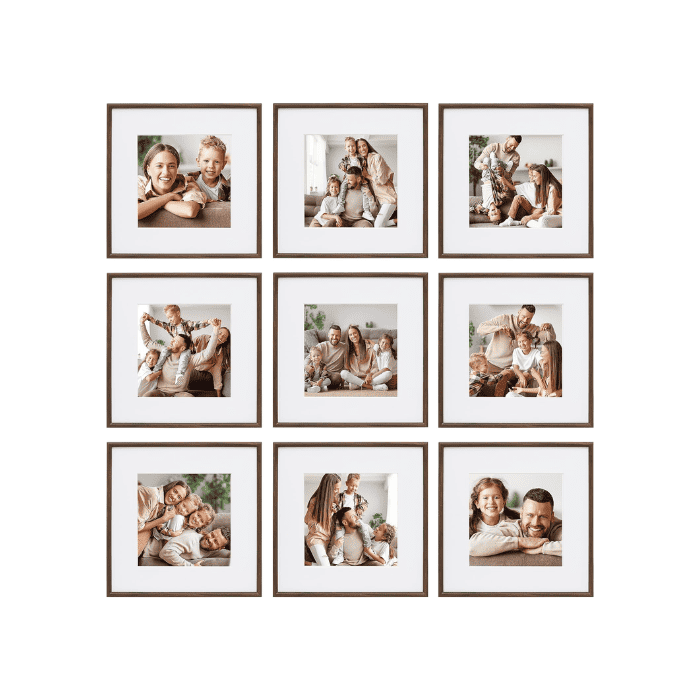
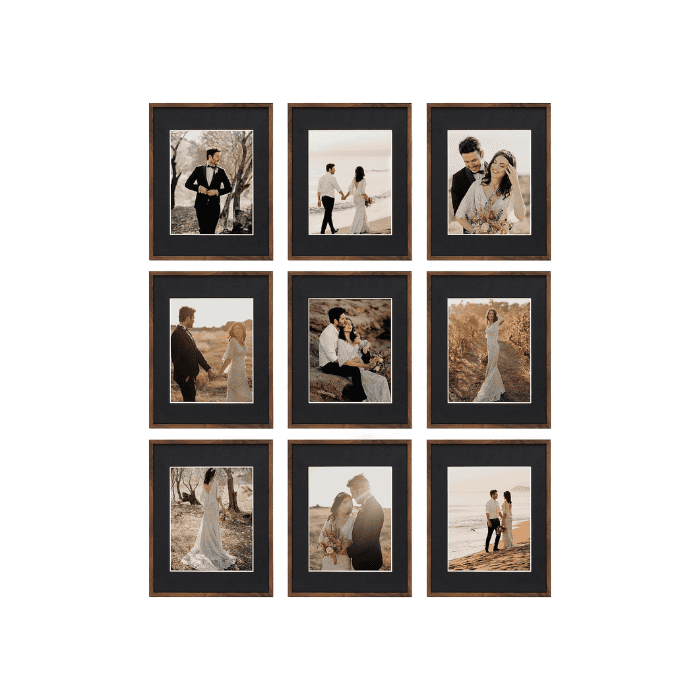
When curating your family photo gallery wall, consider it as a personal work of art. If you prefer a more traditional aesthetic, framing photos from the same photoshoot can create a purposeful and uniform appearance. For those showcasing images taken at different times, converting them to black and white can impart a classic gallery-style feel that many find appealing.
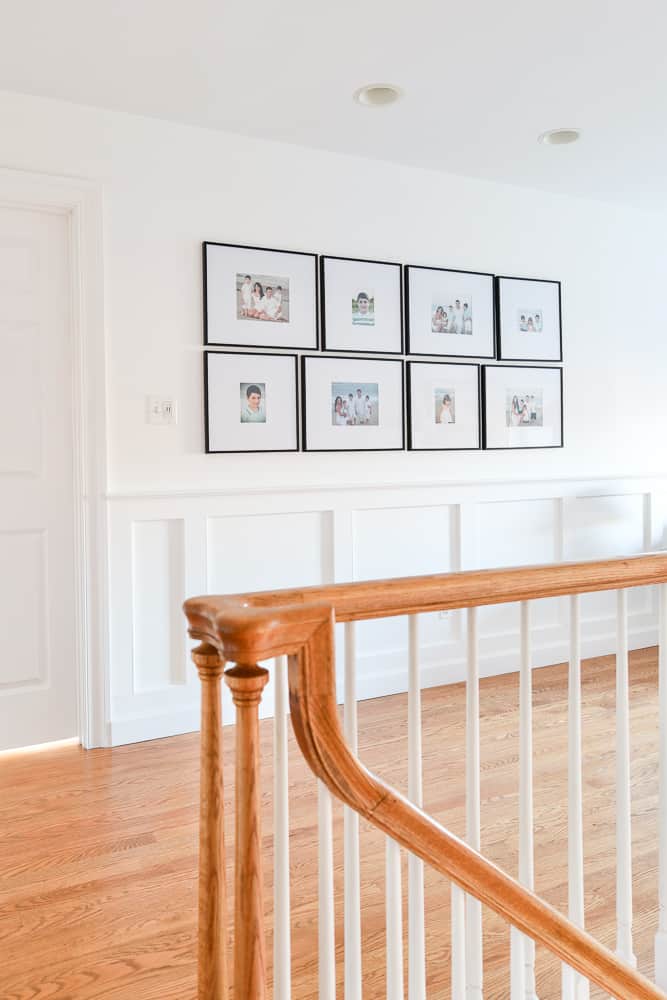
Selecting photos for a family gallery
Choosing the right photographs is vital in creating a family gallery wall that resonates with your personal style. Photos that tell a story or capture significant moments in your family’s life can evoke nostalgia and warmth, inviting admiration from anyone who views them. It’s essential to think about the emotions you wish to convey when selecting images.
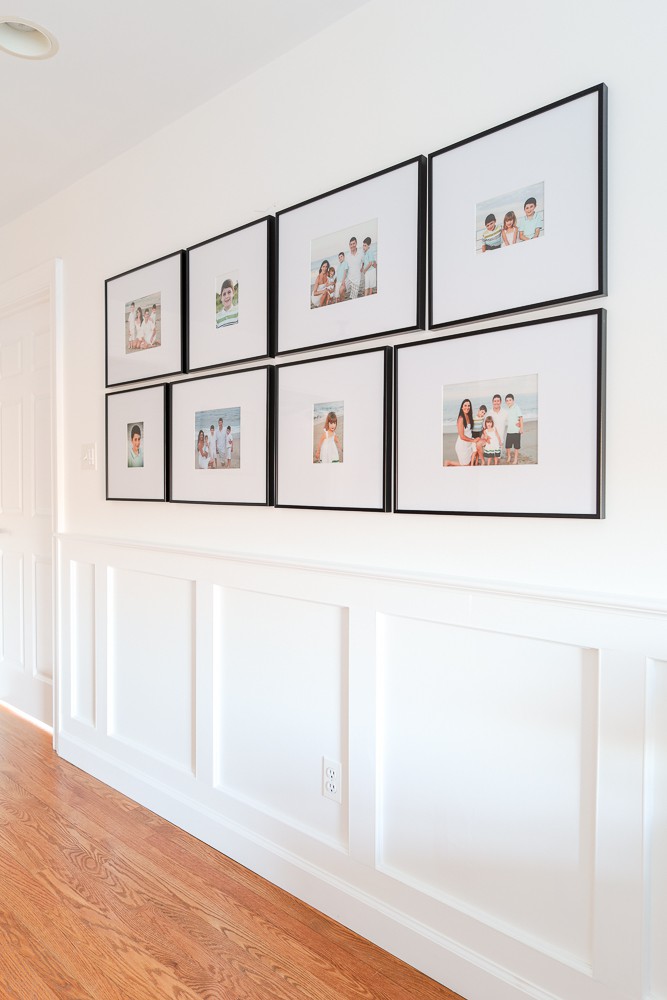
Consider organizing your photos by theme, such as family vacations, holidays, or milestones, to create a cohesive narrative. This method can guide the viewer’s experience as they explore your gallery wall. Additionally, maintaining a consistent color palette among your photographs can enhance visual harmony, making the entire display more aesthetically pleasing.
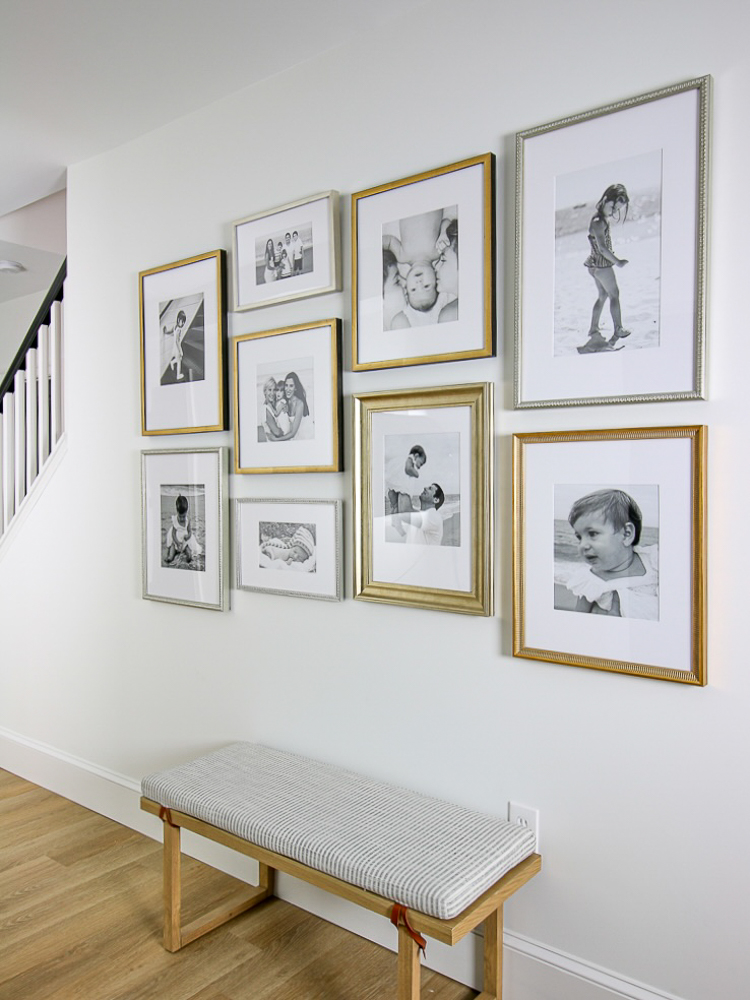
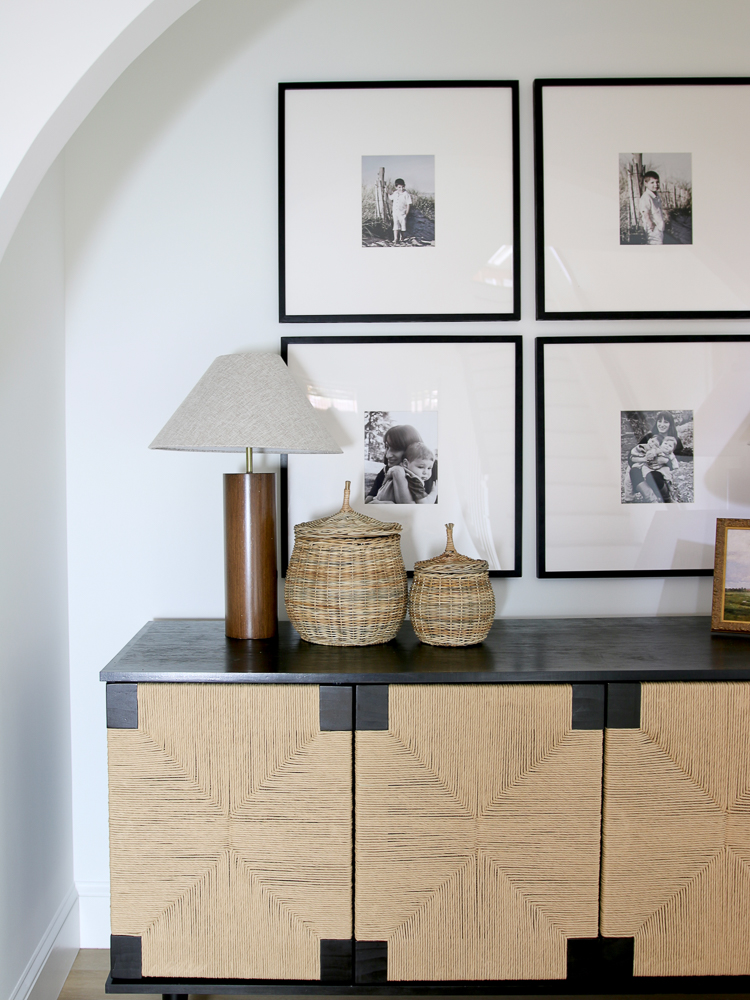
If you’re incorporating images from various times, don’t hesitate to mix color and black-and-white photos. This can create an intriguing visual contrast while maintaining an overall sense of unity. The key is to strike a balance that reflects your family’s unique story and personality.
Tools needed to hang picture frames
The tools required for hanging your gallery frames are relatively simple and minimal. Generally, you will need nails, a hammer, and a level to ensure that everything is aligned correctly. If you’re using a ready-made template, you may not even need a tape measure, which simplifies the process considerably.
Your choice of hanging method can also influence the stability and presentation of your gallery wall. For instance, using a single nail may allow for some flexibility, but it could require frequent adjustments if frames shift over time. On the other hand, using two nails for each frame can enhance stability, reducing the need for readjustments.
Before you begin hanging, take a moment to plan out the layout of your gallery wall. This can save you time and frustration by allowing you to visualize the arrangement before committing to any nails or screws. Whether you’re using templates or relying on your own design instincts, having a clear plan can make the process smoother and more enjoyable.
Other decorative elements
Enhancing your photo gallery wall with additional decorative elements can infuse your personal style into the space and create a unique look that reflects your character. The incorporation of accessories such as shelves, plants, or small sculptures can add depth and dimension to your display.
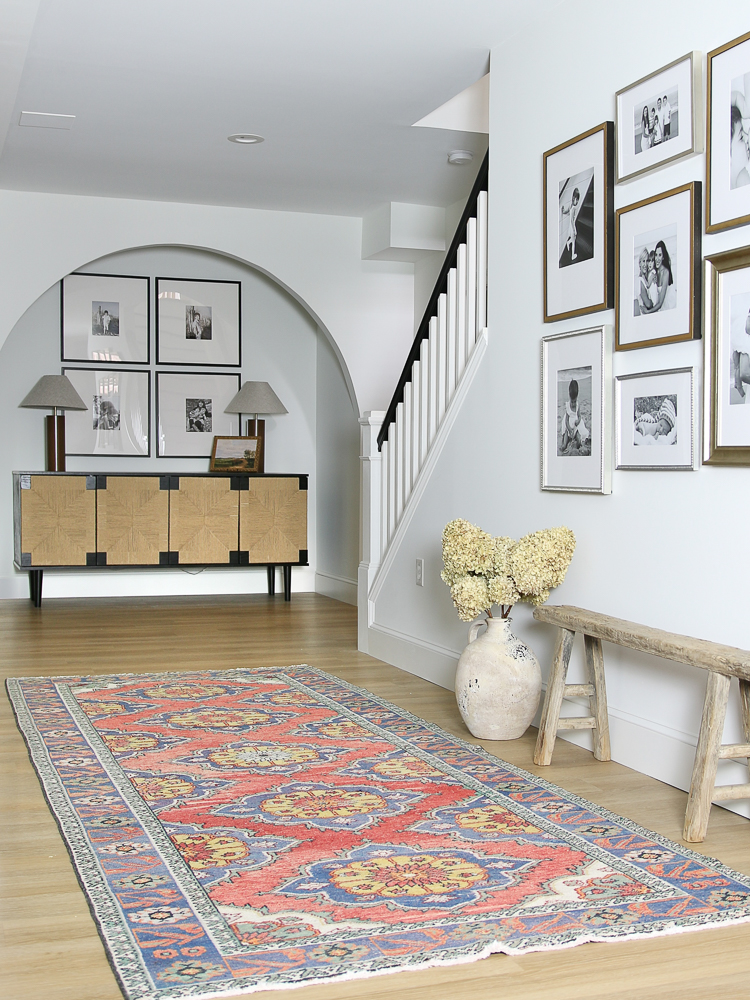
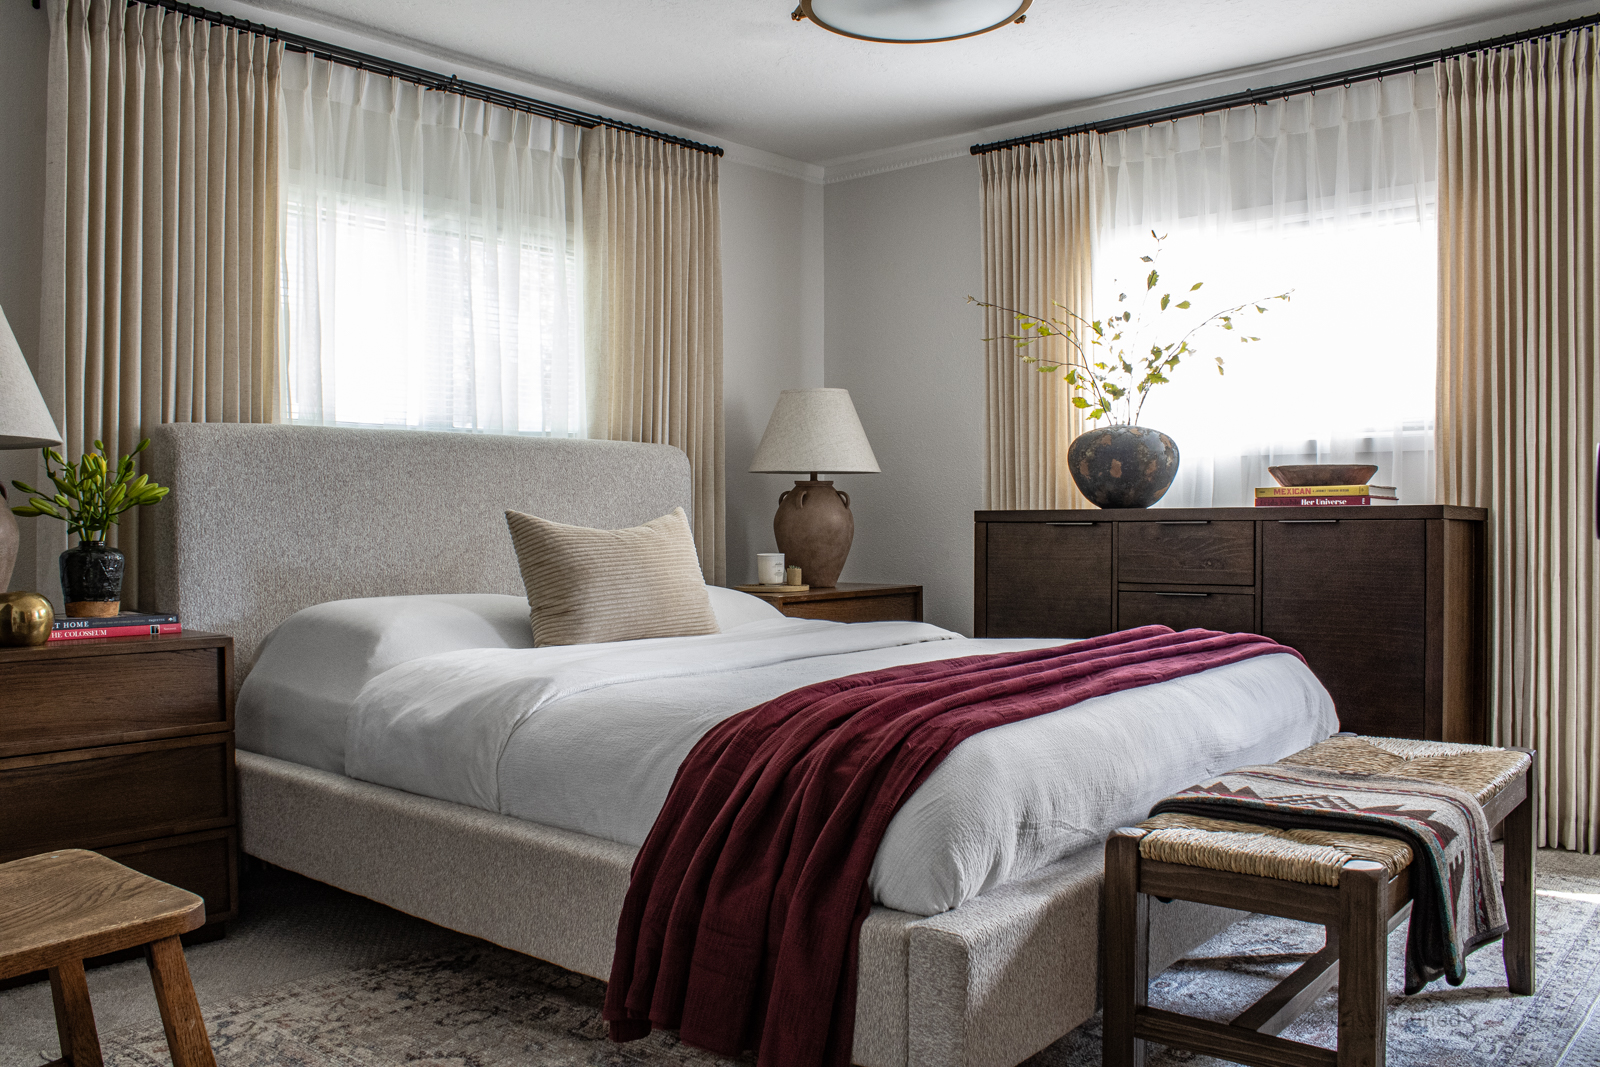
Depending on your decor style, you might choose classic or contemporary accessories that harmonize with your gallery wall. For example, a vintage bench or a large decorative vase can complement the frames beautifully, while a colorful rug can tie the entire space together by echoing the tones found in your photographs.
Consider the overall theme of your room when selecting decorative elements. A cohesive design will create a more inviting atmosphere and enhance the visual appeal of your gallery wall. By thoughtfully curating these additional elements, you can transform your photo display into a captivating focal point that draws attention and admiration.
How to hang a gallery wall with a template
Hanging a gallery wall using a template is an efficient and effective method to ensure your frames are evenly spaced and aligned. Begin by selecting a template that corresponds to the layout you desire for your gallery wall. Carefully cut along the designated lines to prepare the template for installation.
Once your template is ready, use painter’s tape to secure it to the wall. Take your time to level the template, as this step is crucial for achieving a polished appearance. A level will help you ensure that everything is straight and aligned, which is particularly important in a gallery wall that may feature numerous frames.
After leveling the template, align the marked arrows with your intended hanging points. Gently hammer nails into the wall at the marked spots, taking care not to damage the wall surface. Once the nails are in place, you can carefully pull the paper template off the wall, leaving the nails ready for hanging your frames.
With the nails secured, it’s time to hang your frames. Position each frame on its corresponding nail, and adjust as necessary to ensure that everything is perfectly aligned. Step back and admire your handiwork, knowing that you’ve created a beautiful gallery wall that showcases your family’s cherished memories.