Have you been staring at that bare wall for what feels like eternity? Perhaps it’s that expansive space above your couch, or maybe the narrow hallway that connects your various living areas. Whatever the case, it’s time to bring life to that empty canvas with a gallery wall that leaves your guests in awe. You might envision a stunning collection that prompts visitors to ask, “Where did you find all of these amazing pieces?” But each time you think about diving into this project, hesitation creeps in. The fear of uneven frames, the anxiety about too many nail holes, and the confusion about where to even start can be overwhelming.
Here’s a secret that many overlook: creating a gallery wall doesn’t require an innate design flair or a collection of high-priced art. What you need is a straightforward method that removes the guesswork. This comprehensive guide will walk you through the process of crafting a gallery wall that not only enhances your living space but also reflects your unique personality—no need for a professional designer, advanced DIY skills, or costly trial-and-error.
Whether you’re decorating your very first apartment or finally tackling that long-overdue project, consider this your green light to make your gallery wall dreams a reality. Let’s turn that daunting blank wall into your home’s most cherished feature.
I. What Is a Gallery Wall? (And Why Every Home Needs One)
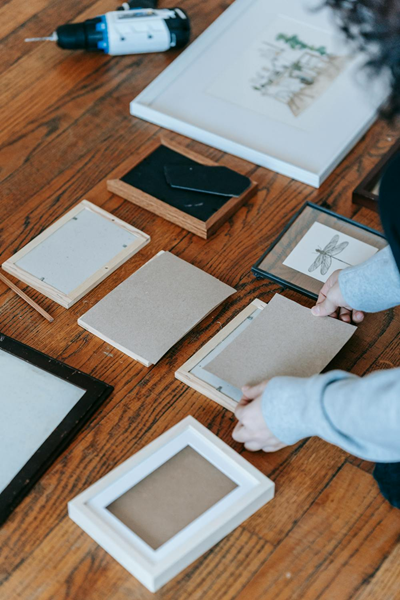
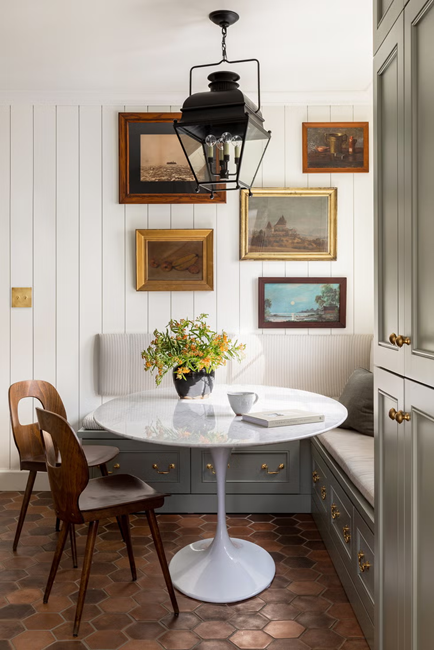
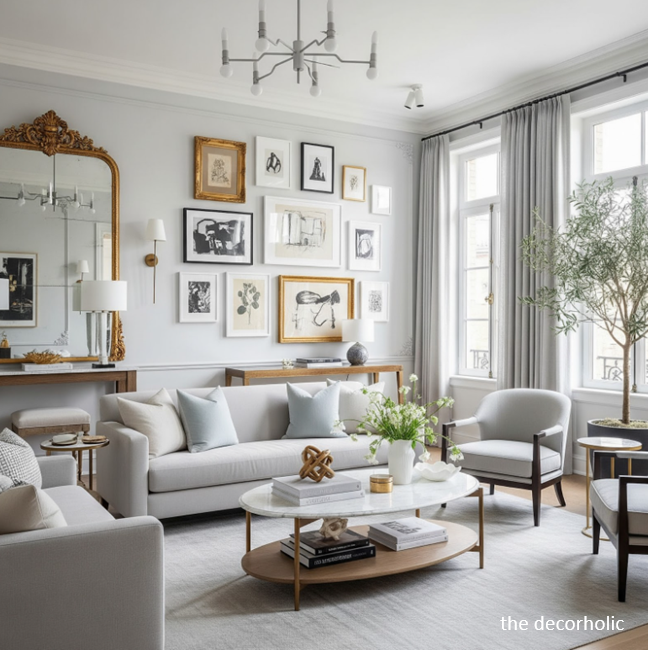
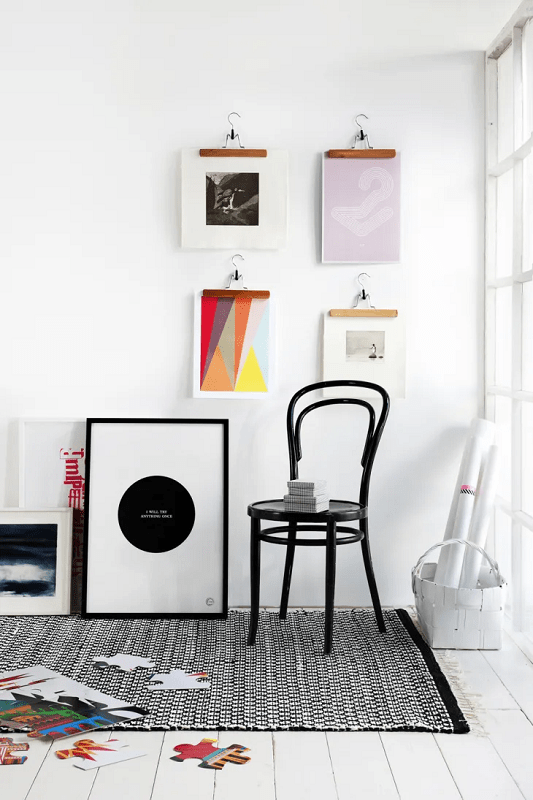
A gallery wall is more than just a collection of framed pictures; it is a curated montage that combines art, photographs, and decorative items to create a visually stunning narrative on your wall. Picture it as a visual autobiography of your life, showcasing cherished memories, personal aesthetics, and significant objects all in one place.
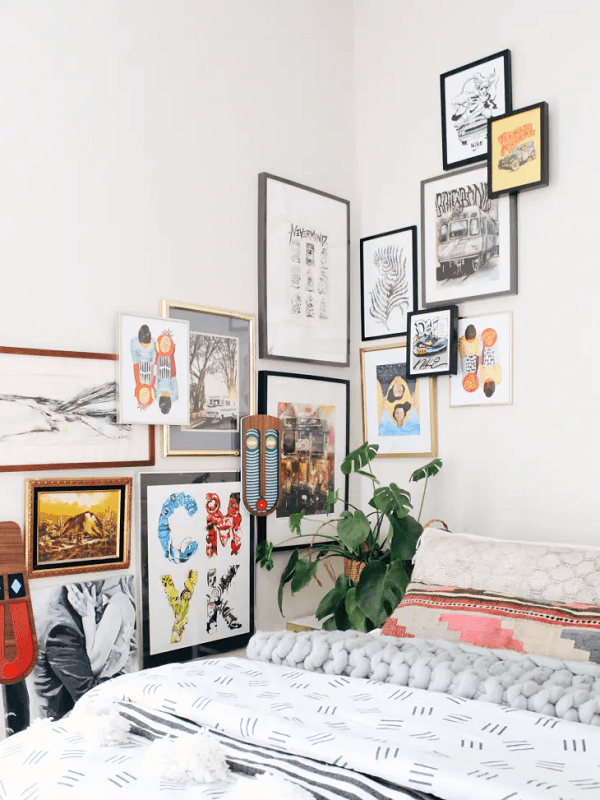
Unlike a solitary artwork that may command attention, a gallery wall allows you to display multiple elements that narrate different facets of your story. You can incorporate family holiday snapshots alongside vintage botanical art, a mirror that captures the light, and that unique abstract painting you stumbled upon at an art fair. The charm of a gallery wall lies in its versatility and the personal touch it adds to your home.
One of the most appealing aspects of creating a gallery wall is the absence of strict rules regarding what constitutes suitable art. From float-mounted concert tickets to professional photographs, anything can find its place in this eclectic display. Even your grandmother’s beautifully embroidered handkerchief can sit comfortably next to modern typography prints. The aim is not to achieve perfection but to craft an arrangement that genuinely expresses who you are.
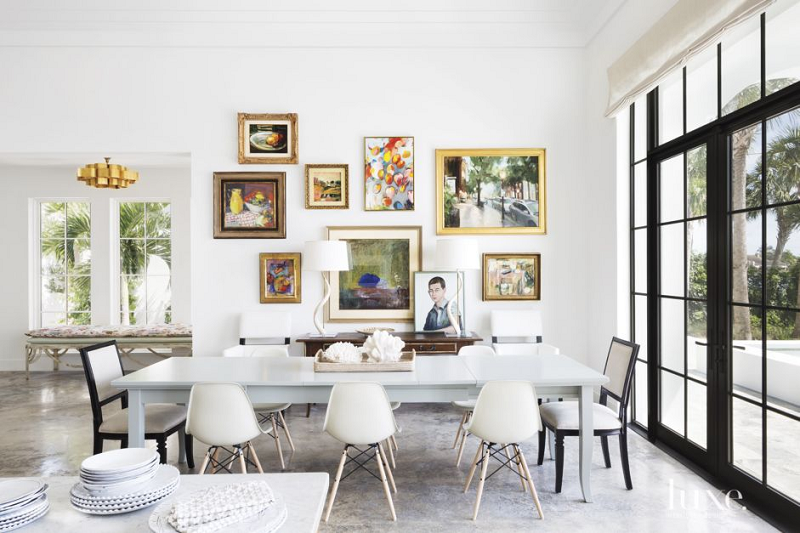
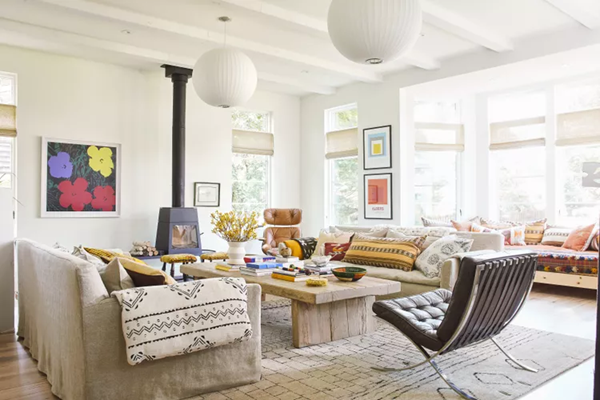
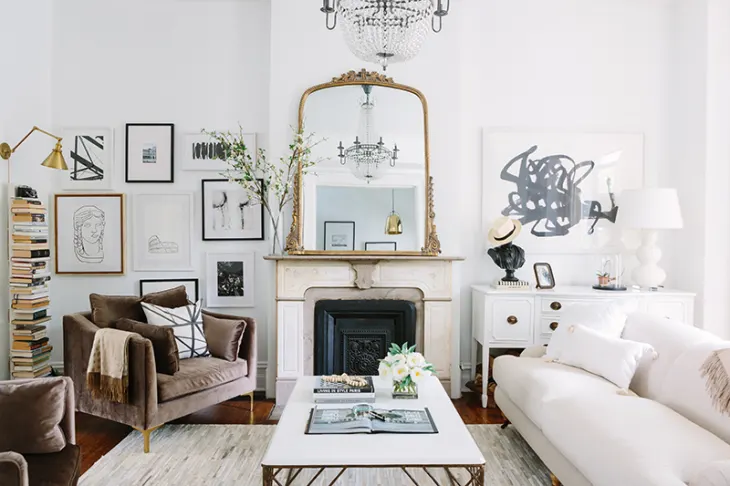
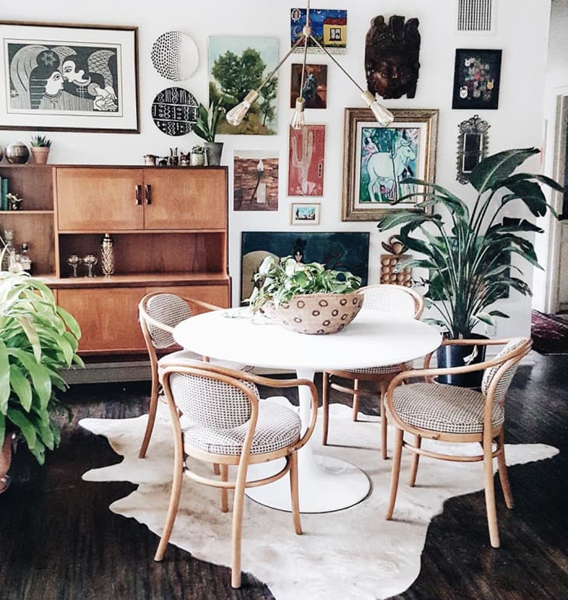
Gallery walls can seamlessly fit into any room or style. A minimalist might favor a collection of black-and-white photos presented in matching frames, arranged in perfect symmetry. On the other hand, a maximalist could opt for a vibrant mix of colorful abstracts framed in ornate gold, arranged in an organic, asymmetrical fashion. Regardless of your style preference, both approaches can create gallery walls that elevate their respective spaces.
💡 Pro Tip: If you’re concerned about making a long-term commitment, start with a small gallery wall featuring just 3-5 pieces. This allows you to practice the technique before scaling up to larger, more ambitious installations.
II. How to Make a Gallery Wall: Essential Planning Steps
Before you grab a hammer, it’s essential to plan your gallery wall meticulously. Proper planning can prevent costly mistakes that might clutter rather than enhance your space. The location you choose for your gallery wall is crucial to its success. You’ll want to ensure you have enough wall space (a minimum of 24” x 36” is ideal for smaller collections), good lighting, and an appropriate viewing distance that allows admirers to appreciate the full display.
When scouting for the perfect spot, avoid placing your gallery wall near architectural features that compete for attention, such as fireplaces or large windows. Additionally, steer clear of high-humidity areas, like bathrooms that lack proper ventilation, and avoid spaces where furniture might obstruct significant portions of your display.
This stage may seem tedious, but it pays off in the long run. You’ll need to gather three critical measurements to guide your planning. Write these down and tape them to your wall for easy reference throughout the process.
💡 Pro Tip: Take photos of your empty wall from various angles. These reference images will help you visualize how your gallery wall will look in the actual space.
III. Selecting Art & Frames: Creating Visual Cohesion
The secret to achieving a gallery wall that looks thoughtfully curated rather than haphazardly arranged lies in your careful selection of art and frames. You don’t need to splurge on expensive original pieces to create a display that captivates the eye. Consider mixing and matching from a variety of sources that speak to your personal style.
Keep in mind that variety and cohesion should exist in three key dimensions: color, style, and scale. For instance, if you choose to focus on black-and-white photography, vary the subjects and frame styles to add depth. Alternatively, if you decide to incorporate a range of colors, ensure they share a common tone—think jewel tones, pastels, or earthy neutrals.
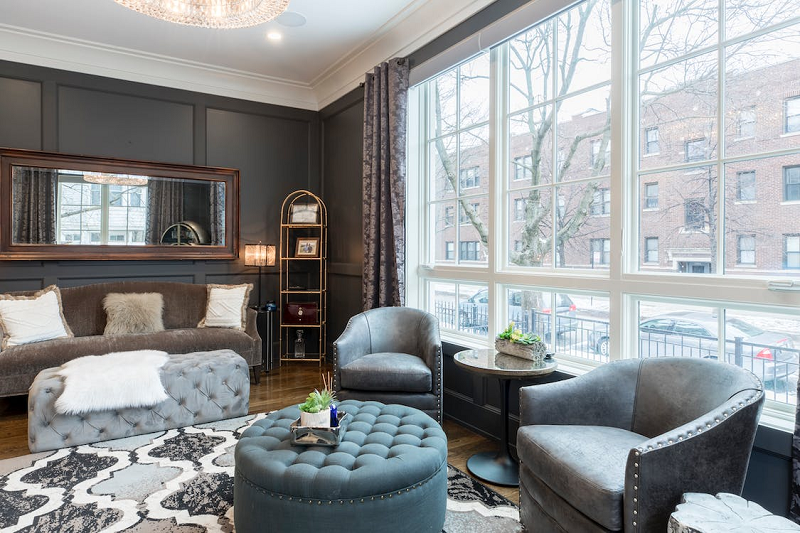
Your choice of frames can either unify or fragment your gallery wall. You have three reliable approaches to frame selection:
- **Option 1 – Uniform Frames:** Use matching frames (same color and style) with diverse mat board treatments to create a sleek, gallery-like sophistication. This approach works best when your art itself offers visual variety.
- **Option 2 – Limited Variety:** Select two to three frame styles at most—perhaps a combination of white frames, natural wood frames, and one metallic accent. This balanced approach feels curated without being chaotic.
- **Option 3 – Eclectic Mix:** Combine multiple frame styles, colors, and finishes, but unify them through consistent spacing and a cohesive color story within the artwork itself. This can create the desired “collected over time” aesthetic that many strive for when crafting a gallery wall.
💡 Pro Tip: When mixing frame styles, maintain consistency in at least one element, whether it’s the finish (like “all black”) or the material (like “all wood”). This will help create visual harmony throughout your arrangement.
IV. Gallery Wall Layout Techniques: From Template to Wall
The key difference between gallery walls that appear professionally designed rather than haphazardly thrown together lies in the layout planning, which should be completed before you touch your wall. This technique will help eliminate guesswork and prevent the dreaded scenario of deciding “I hate it after I’ve already hung everything.”
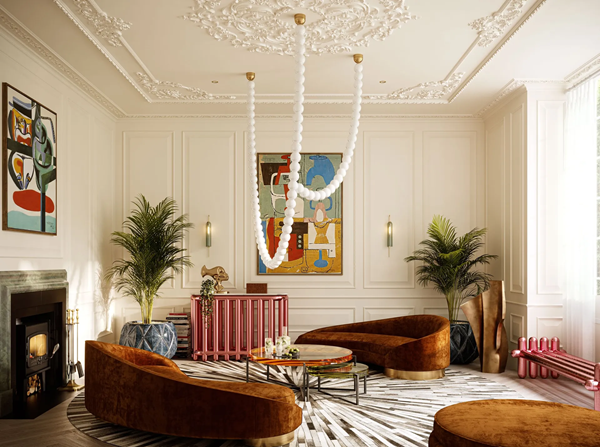
Begin by marking your intended gallery wall space on the floor with painter’s tape. If your measurements indicate a space of 72” wide by 48” tall, use tape to replicate those exact dimensions on the floor where you can comfortably arrange your frames.
Next, place all of your frames face-up within the taped area. Start with the largest piece as your anchor and position it slightly off-center—this creates a more visually interesting layout than a perfectly centered focal point.
From there, add your second-largest piece diagonally from the anchor—either adjacent or across the layout. This gives you two reference points to work with as you fill in the remaining space with medium and smaller pieces, ensuring a consistent 2-3 inches between all frames.
Once your arrangement is set, step back and take photos. This allows you to view how everything works together and to make adjustments. After you’re satisfied with the layout, take multiple photos from above and number each frame with removable tape, sketching a simple map for reference during the installation process.
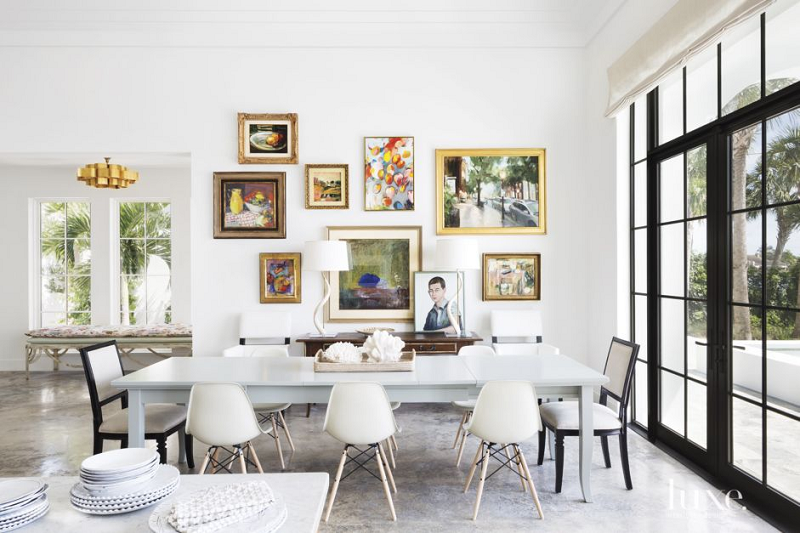
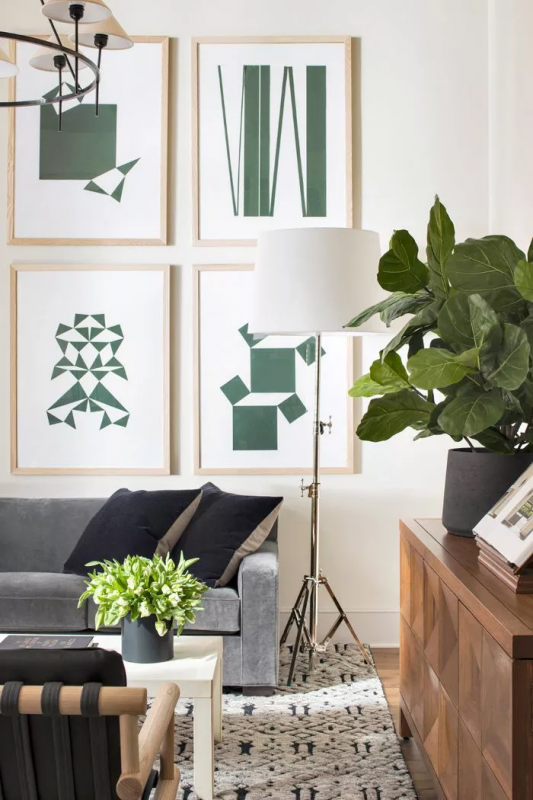
**Grid Layout:** Frames of uniform size arranged in neat rows and columns, ideal for matching prints or a series of photos. This is the easiest method for beginners.
**Salon-Style:** An organic, asymmetrical arrangement that extends from floor to near ceiling, maximizing wall coverage and creating a museum-quality impact. Ideal for larger collections (15+ pieces).
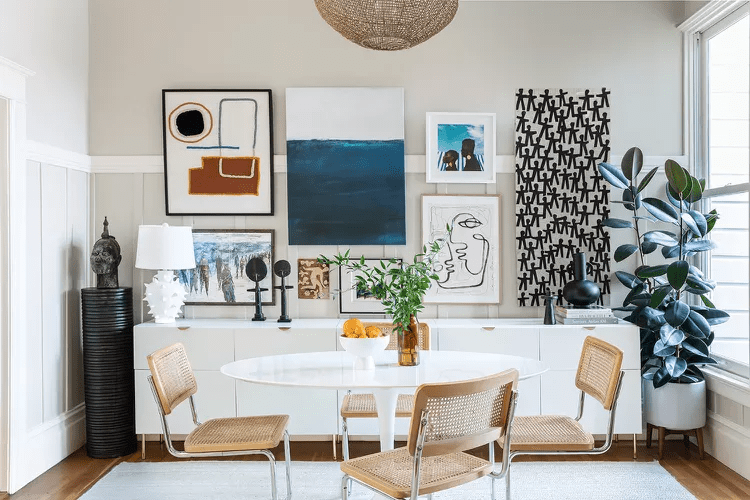
**Horizontal Line:** All frames align along a horizontal line (either tops, middles, or bottoms), creating a visual calm while allowing for size variation—perfect for above long furniture pieces.
**Symmetrical Pairs:** Matching frames in mirrored arrangements create a sense of formal balance, perfect for traditional décor.
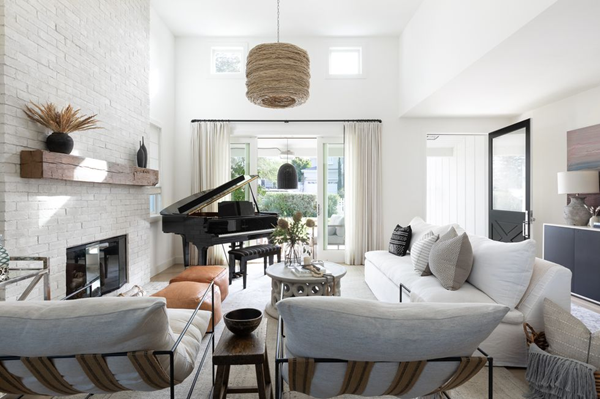
💡 Pro Tip: Don’t limit yourself to rectangular frames. Circular mirrors, hexagonal shelves, or even sculptural wall art can add dimensional interest to your gallery wall layout.
V. The 57-Inch Rule & Essential Spacing Guidelines
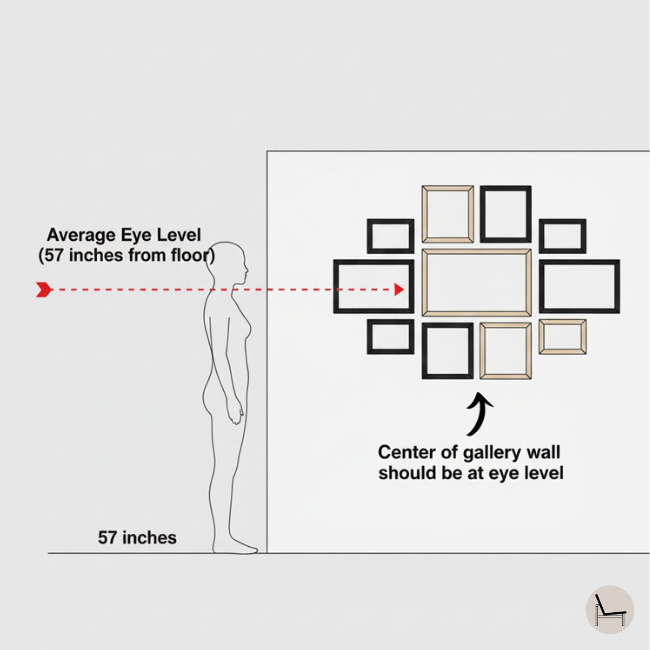
Professional gallery curators rely on mathematical precision to create installations that feel balanced and effortless. One common standard is to hang art so that the center is approximately 57 inches from the floor, which aligns with the average human eye level. This principle makes your gallery wall comfortable and natural to view.
For single large pieces, measure 57 inches from the ground and lightly mark this spot with a pencil. This mark indicates the vertical center of your artwork. For collections, calculate the vertical center of your entire arrangement by finding the midpoint between the highest and lowest frames, aiming for that same 57-inch mark.
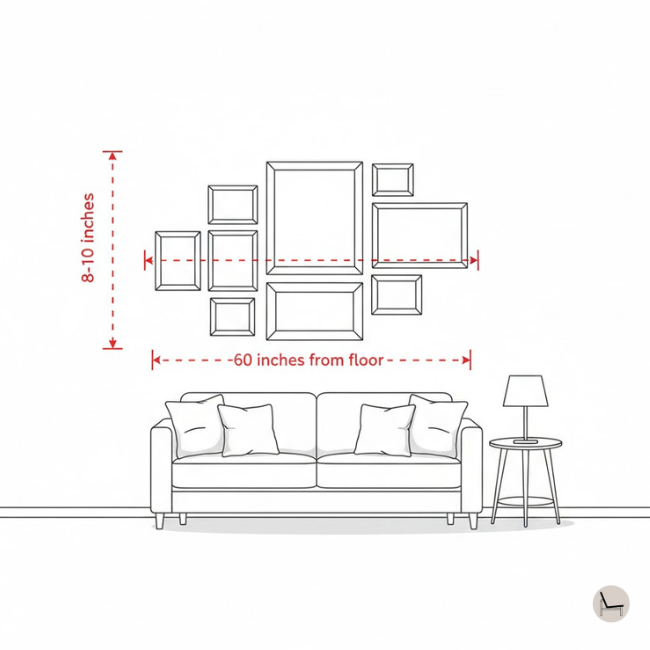
If your gallery wall is above a piece of furniture, adjust accordingly; the bottom of your lowest frame should sit 8-10 inches above the furniture. This may push your center higher than 57 inches, but the relationship with the furniture takes precedence.
Maintaining consistent spacing is crucial for polished gallery walls, and professionals typically keep 2-3 inches between all pieces. This creates invisible grid lines that guide the viewer’s eye comfortably across the display.
To ensure you keep uniform spacing during installation, consider cutting small cardboard spacers to your chosen measurement. Place these between frames as you mark nail positions to achieve consistent results.
💡 Pro Tip: If your gallery wall incorporates dimensional objects like floating shelves or sculptures, treat these as frames when calculating spacing—measure from their furthest protruding point.
VI. Step-by-Step: How to Hang Your Gallery Wall
With your planning complete, the installation process becomes straightforward when you adhere to a systematic approach. Start by gathering the essential tools and materials needed for a successful installation.
**Essential Tools:** Level, picture-hanging nails or appropriate hardware, stud finder for heavier pieces, painter’s tape, small cardboard spacers, and command strips for rental installations.
**Optional Tools:** Hammer, pencil, measuring tape, and a clean cloth to prep the wall surface.
Begin by identifying your starting point; don’t start in the middle. Select a frame that will establish your alignment reference—either one at the bottom if you’re building upward or a top-corner frame for diagonal layouts.
Hang your first frame, double-checking its level. This frame is critical, as all subsequent frames will build off this one. Once it’s perfect, proceed to hang your adjacent frames one at a time, measuring from the existing frames instead of starting from the floor again each time. This will reduce the risk of measurement errors.
Lastly, step back frequently to view your gallery wall from the main seating areas of the room. Minor adjustments are normal; don’t hesitate to reposition a frame if something feels off.
💡 Pro Tip: If you’re installing a gallery wall in a rental space, take photos of the process from various angles. This will make reinstallation in a new home much quicker.
VII. Common Gallery Wall Mistakes (And How to Avoid Them)
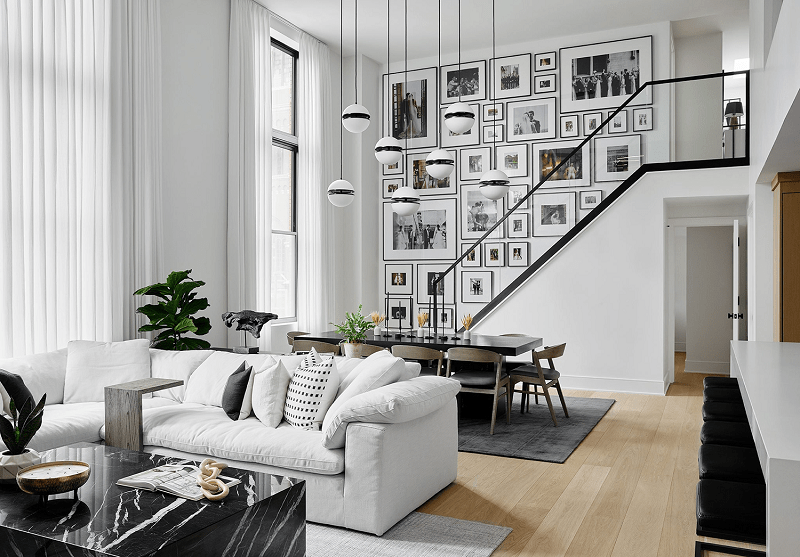
Even when you follow a careful approach, several frequent pitfalls can sabotage an otherwise beautiful gallery wall. Here’s how to avoid each common mistake.
**Mistake #1: Hanging Everything Too High** – Floating gallery walls that sit far above furniture can feel disconnected. Instead, maintain 8-10 inches between the tops of furniture and the lowest frame of your gallery wall for a cohesive look.
**Mistake #2: Inconsistent Spacing** – Random gaps between frames create a chaotic visual that seems unintentional. Use cardboard spacers cut to your selected measurement (2-3 inches) to guarantee consistent spacing throughout.
**Mistake #3: Ignoring Visual Weight** – Clustering all dark or large frames on one side leads to imbalance. Distribute visual weight evenly; for example, position three black frames in a triangular pattern across your layout rather than lining them up together.
**Mistake #4: Overcrowding the Wall** – Filling every inch of wall space can create visual exhaustion. Aim to fill 60-75% of your designated wall area, allowing for negative space at the edges to make your arrangement feel more intentional.
**Mistake #5: Using Inadequate Hardware** – Standard picture hangers may fail under weight, risking damage to both the frames and your walls. Match your hardware to frame weight, using wall anchors for heavier pieces and securing larger frames into wall studs with appropriate screws.
💡 Pro Tip: Write the weight of each frame on the back with a pencil to prevent mismatches when selecting hanging hardware.
VIII. Budget-Friendly Gallery Wall Solutions
Creating a gallery wall doesn’t have to break the bank. With strategic shopping and DIY techniques, you can achieve professional results without spending a fortune.
**Digital Prints:** Consider opting for digital art instead of original pieces. Websites like Etsy, Society6, and others allow you to purchase downloadable art for $5-20, which you can then print at local photo labs for a fraction of the cost.
**Thrift Store Finds:** Estate sales, Goodwill, and vintage shops often have an abundance of frames at 70-90% below retail prices. Look for frames you can paint or refinish rather than focusing on the existing art. You might find frames for as little as $2-8 instead of the typical $30-80.
**IKEA RIBBA Frames:** These frames are consistently sized, affordable (ranging from $10-30), and available in stylish black or white options. Their uniform sizes simplify layout planning.
**Printable Art Collections:** Many designers offer curated sets of digital prints (8-12 pieces designed to work together) for $25-50, which is much cheaper than purchasing individual items.
**DIY Frame Refinishing:** A little spray paint can transform outdated frames into a cohesive collection. Budget $15-25 for supplies to refinish 8-12 frames using primer and 2-3 coats of your chosen spray paint finish. Matte black and satin gold are popular choices that provide an upscale look.
💡 Pro Tip: Check Facebook Marketplace or Nextdoor for people moving who might be selling entire gallery wall collections at significantly discounted rates.
IX. Rental-Friendly Gallery Wall Techniques
Creating a gallery wall in a rental doesn’t have to mean risking your security deposit. There are several damage-free methods to achieve your desired look without jeopardizing your deposit.
**3M Command Picture Hanging Strips:** These strips can hold surprisingly heavy frames (up to 16 pounds for the heavy-duty versions) without causing any permanent damage. Just follow the package instructions closely.
**Picture Rail Systems:** If your rental features picture rails (molding near the ceiling designed for hanging art), consider investing in adjustable picture hanging cables. These allow you to create a gallery wall that can easily move with you.
**IKEA Picture Ledges:** These floating shelves can lean against your wall and allow for a changeable display without nails. To keep them stable, secure them to the wall with museum putty, which is removable and leaves no marks.
**Removable Adhesive Hooks:** Brands like Monkey Hooks or VELCRO offer removable hooks that work well for lighter frames (typically under 5 pounds). While they are less reliable than Command strips, they can still be effective for smaller pieces in your gallery wall.
💡 Pro Tip: Document your installation process with detailed photos that include timestamps. This will safeguard you against any claims by landlords regarding “pre-existing damage.”
X. Transform Your Space: Your Gallery Wall Awaits
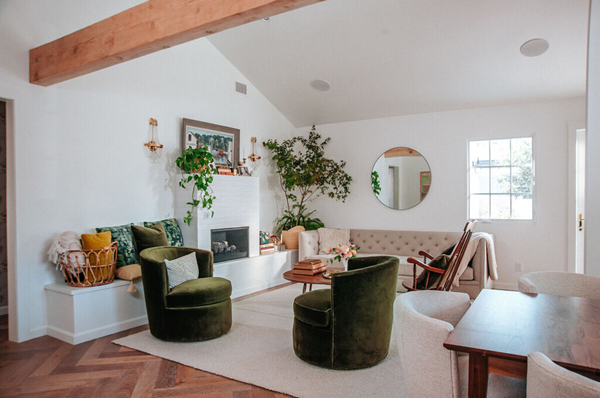
You began this guide facing a daunting blank wall, unsure of how to proceed. Now, you have a complete system for creating a gallery wall that showcases your unique style, fits your budget, and achieves the curated look you’ve admired in design magazines. The distinction between homes that feel generic and those that resonate with personality often lies in the details—like the collections we choose to display, the memories we highlight, and the artistic choices that turn plain walls into narratives.
Your gallery wall will not simply occupy empty space; it will anchor your room, inspire conversation, and serve as a daily reminder of the experiences and aesthetics that matter most to you. Your next step is straightforward: grab your measuring tape, measure that blank wall, and mark those dimensions on your floor. Gather the frames you’ve kept hidden away and the photos you’ve been meaning to print. Set aside one weekend afternoon to dive into this project.
Now that you know how to make a gallery wall, the only thing standing between your current blank canvas and your dream installation is the decision to get started. Your transformed space is eager to reveal itself.
**Call to Action:** Pin this guide for easy reference when you embark on your gallery wall project. Share it with friends who’ve been seeking your design wisdom. When you complete your masterpiece, tag us on Instagram—we’re excited to celebrate your newly transformed space with you!
Frequently Asked Questions About Making Gallery Walls
**Q: How many pictures do I need to make a gallery wall?** A: Gallery walls can be effective with as few as 3 pieces or as many as 30+. For your first project, start with 5-9 pieces to create an interesting layout without overwhelming yourself. Odd numbers (5, 7, 9) tend to yield more visually pleasing arrangements than even numbers.
**Q: Should all my frames match when making a gallery wall?** A: Not necessarily. Matching frames create a clean, cohesive look ideal for modern or minimalist spaces. Mixed frames can work beautifully if you limit variety to 2-3 frame styles or maintain consistency in one element (like “all black finishes” or “all wood tones”). The key is intentional selection rather than randomness.
**Q: What’s the minimum wall size for a gallery wall?** A: You can create a gallery wall in spaces as small as 24” x 36” using 3-5 smaller frames. Narrow hallways, small dining areas, and spaces above desks are perfect for mini gallery walls. Adjust your frame sizes to fit the available space—don’t force oversized frames into a small area.
**Q: How do I make a gallery wall look cohesive with different art styles?** A: Cohesion can be achieved through consistent framing, unified color palettes, or similar artistic mediums. A gallery wall combining photography, abstracts, and vintage prints can feel cohesive when all pieces share a neutral color story or when all frames match. Alternatively, keep artistic styles similar (all photography or all botanical prints) while varying the frame styles.
**Q: Can I add to my gallery wall later?** A: Absolutely! Gallery walls should evolve as you discover new art, collect memories, or refine your aesthetic. When planning your initial setup, consider leaving strategic open space at the edges for future expansion. Photograph your current layout for easy recreation if needed.
**Q: What if I don’t have enough art or photos for a gallery wall?** A: Mix what you have with affordable solutions: digital art prints ($5-20 from Etsy), thrifted vintage frames, DIY abstract art (canvas + acrylic paint for under $30), or meaningful objects like pressed flowers, vintage postcards, or framed fabric swatches. Gallery walls are about celebrating your personality, not about expensive collections.
Choose Your Wall Space Strategically
Begin by identifying the perfect wall space for your gallery wall. This should be an area that can accommodate your desired layout and showcases the collection effectively. Ensure there’s enough room for your frames and that the location allows for easy viewing without obstructions.
Measure the total height and width of your available wall space, and also measure the height from the floor to the top of any furniture beneath the wall. Aiming for 8-10 inches above furniture creates a comfortable visual breathing room.
Once you have these measurements, determine the ideal dimensions for your gallery wall. Typically, it should fill 60-75% of the width above furniture to achieve a harmonious look that doesn’t overwhelm the space.
Measure Everything (Seriously, Everything)
Measuring is a critical step in creating a gallery wall that looks intentional and polished. Measure the height and width of your wall, and remember to account for any furniture that will be placed below the gallery wall.
Don’t forget to measure the individual frames, too. This will help you understand how they will fit together in your arrangement and ensure that you leave adequate spacing for each piece.
Building Your Art Collection
Start curating your art collection by considering what pieces resonate most with you. Think about personal photographs, digital art prints, thrifted finds, DIY creations, and meaningful objects that tell a story. This is an opportunity to celebrate your memories and interests through your gallery wall.
As you gather pieces, keep in mind the balance of colors, styles, and sizes. Aim for a cohesive look that still feels diverse and interesting. The right combination can transform your gallery wall into a visual feast that engages and delights.
Frame Selection Strategy
When it comes to selecting frames, consider the overall aesthetic you want to achieve. You can opt for uniform frames for a clean look, limited variety for a curated feel, or an eclectic mix for a more personal touch. Whatever you choose, ensure that your frames complement the artwork and each other to create a harmonious presentation.
The Floor Template Method (Your Foolproof System)
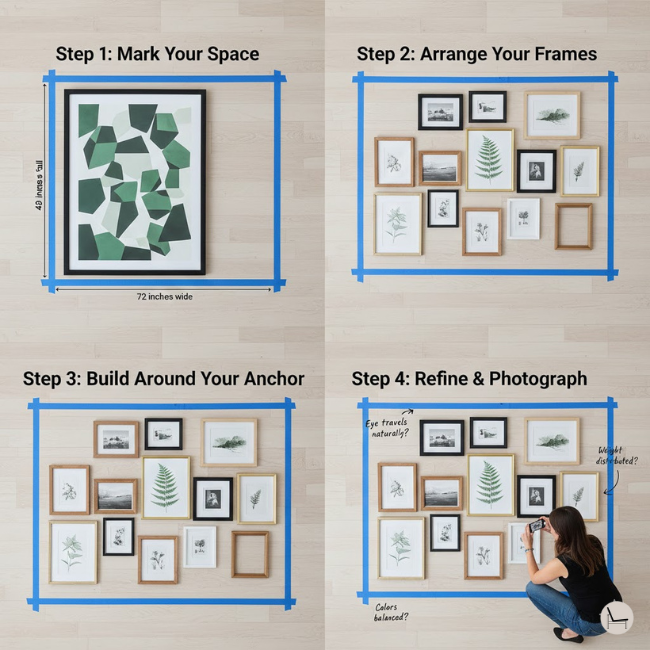
Using the floor template method is an effective way to visualize your gallery wall before hanging anything. By laying your frames out on the floor within the boundaries of your intended wall space, you can experiment with arrangements and make adjustments until you find the perfect layout.
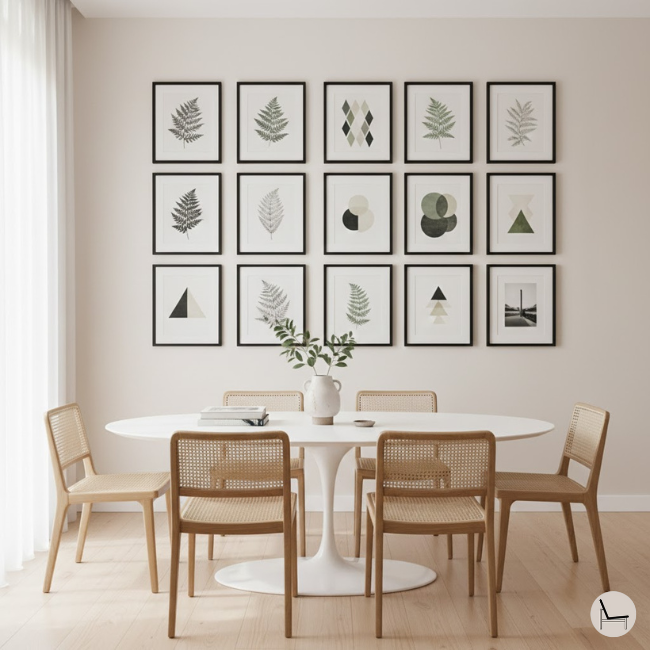
Alternative Layout Styles to Consider
Explore various layout styles to find the one that best suits your space and aesthetic. Whether you prefer a traditional grid layout, an organic salon style, or a horizontal line arrangement, each style offers a unique way to showcase your art collection.
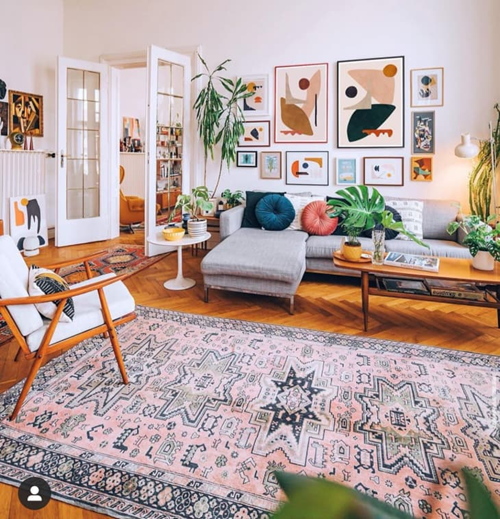
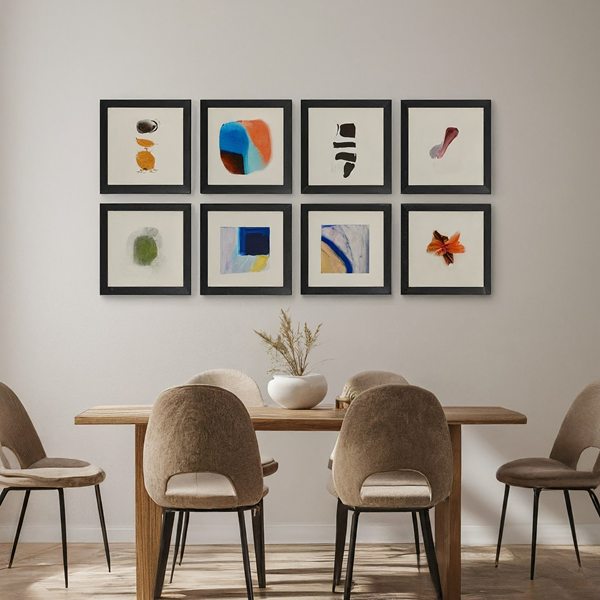
Understanding the 57-Inch Rule
The 57-inch rule is a guideline used by professional curators to ensure that artwork is hung at an eye-level height that is comfortable for viewers. Following this guideline can enhance the visual appeal of your gallery wall.
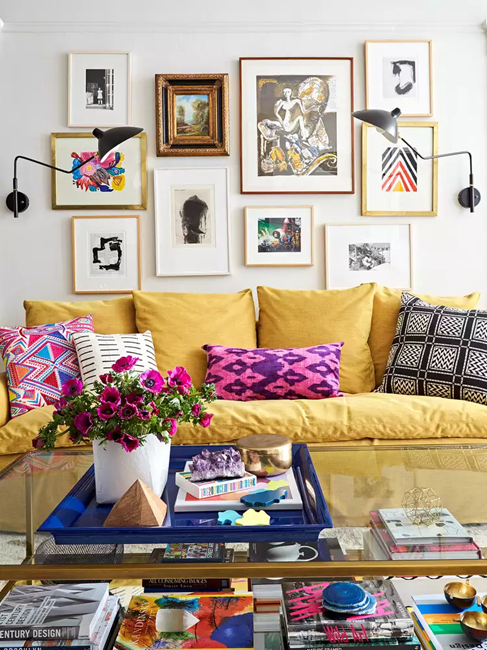
Spacing Between Frames
Consistent spacing between frames is key to a polished look. Establish your desired spacing (typically 2-3 inches) and use cardboard spacers as a guide when marking nail positions to achieve uniformity throughout your gallery wall.
Tools & Materials You’ll Need
Gather your tools and materials before starting the installation process. Essential items include a level, picture-hanging hardware, a stud finder for heavier pieces, painter’s tape for marking, and small cardboard spacers to maintain consistent gaps.
The Installation Process
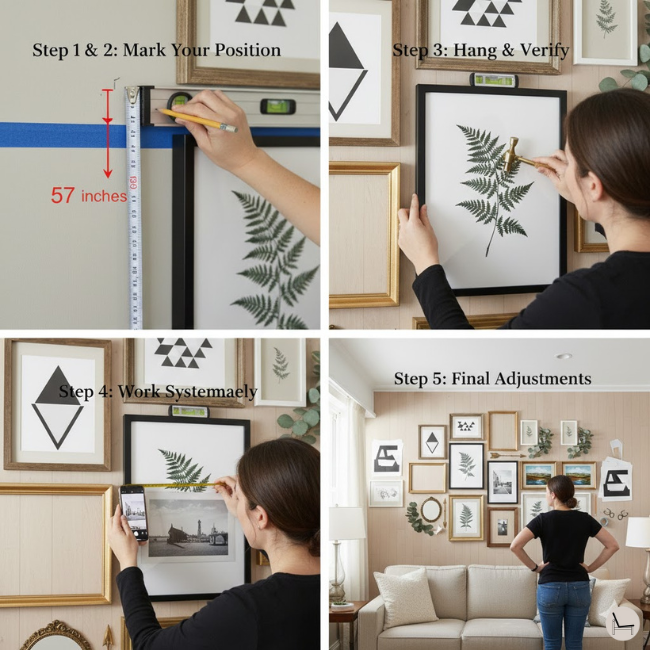
Follow your planned layout and systematic approach to install your gallery wall. Start with your anchor frame and build out from there, taking care to measure and level each frame as you go. Regularly step back to assess the overall look and make adjustments as needed.